1
Guides
MESA Research • Q1 2026
The State of Shopify Automation 2026
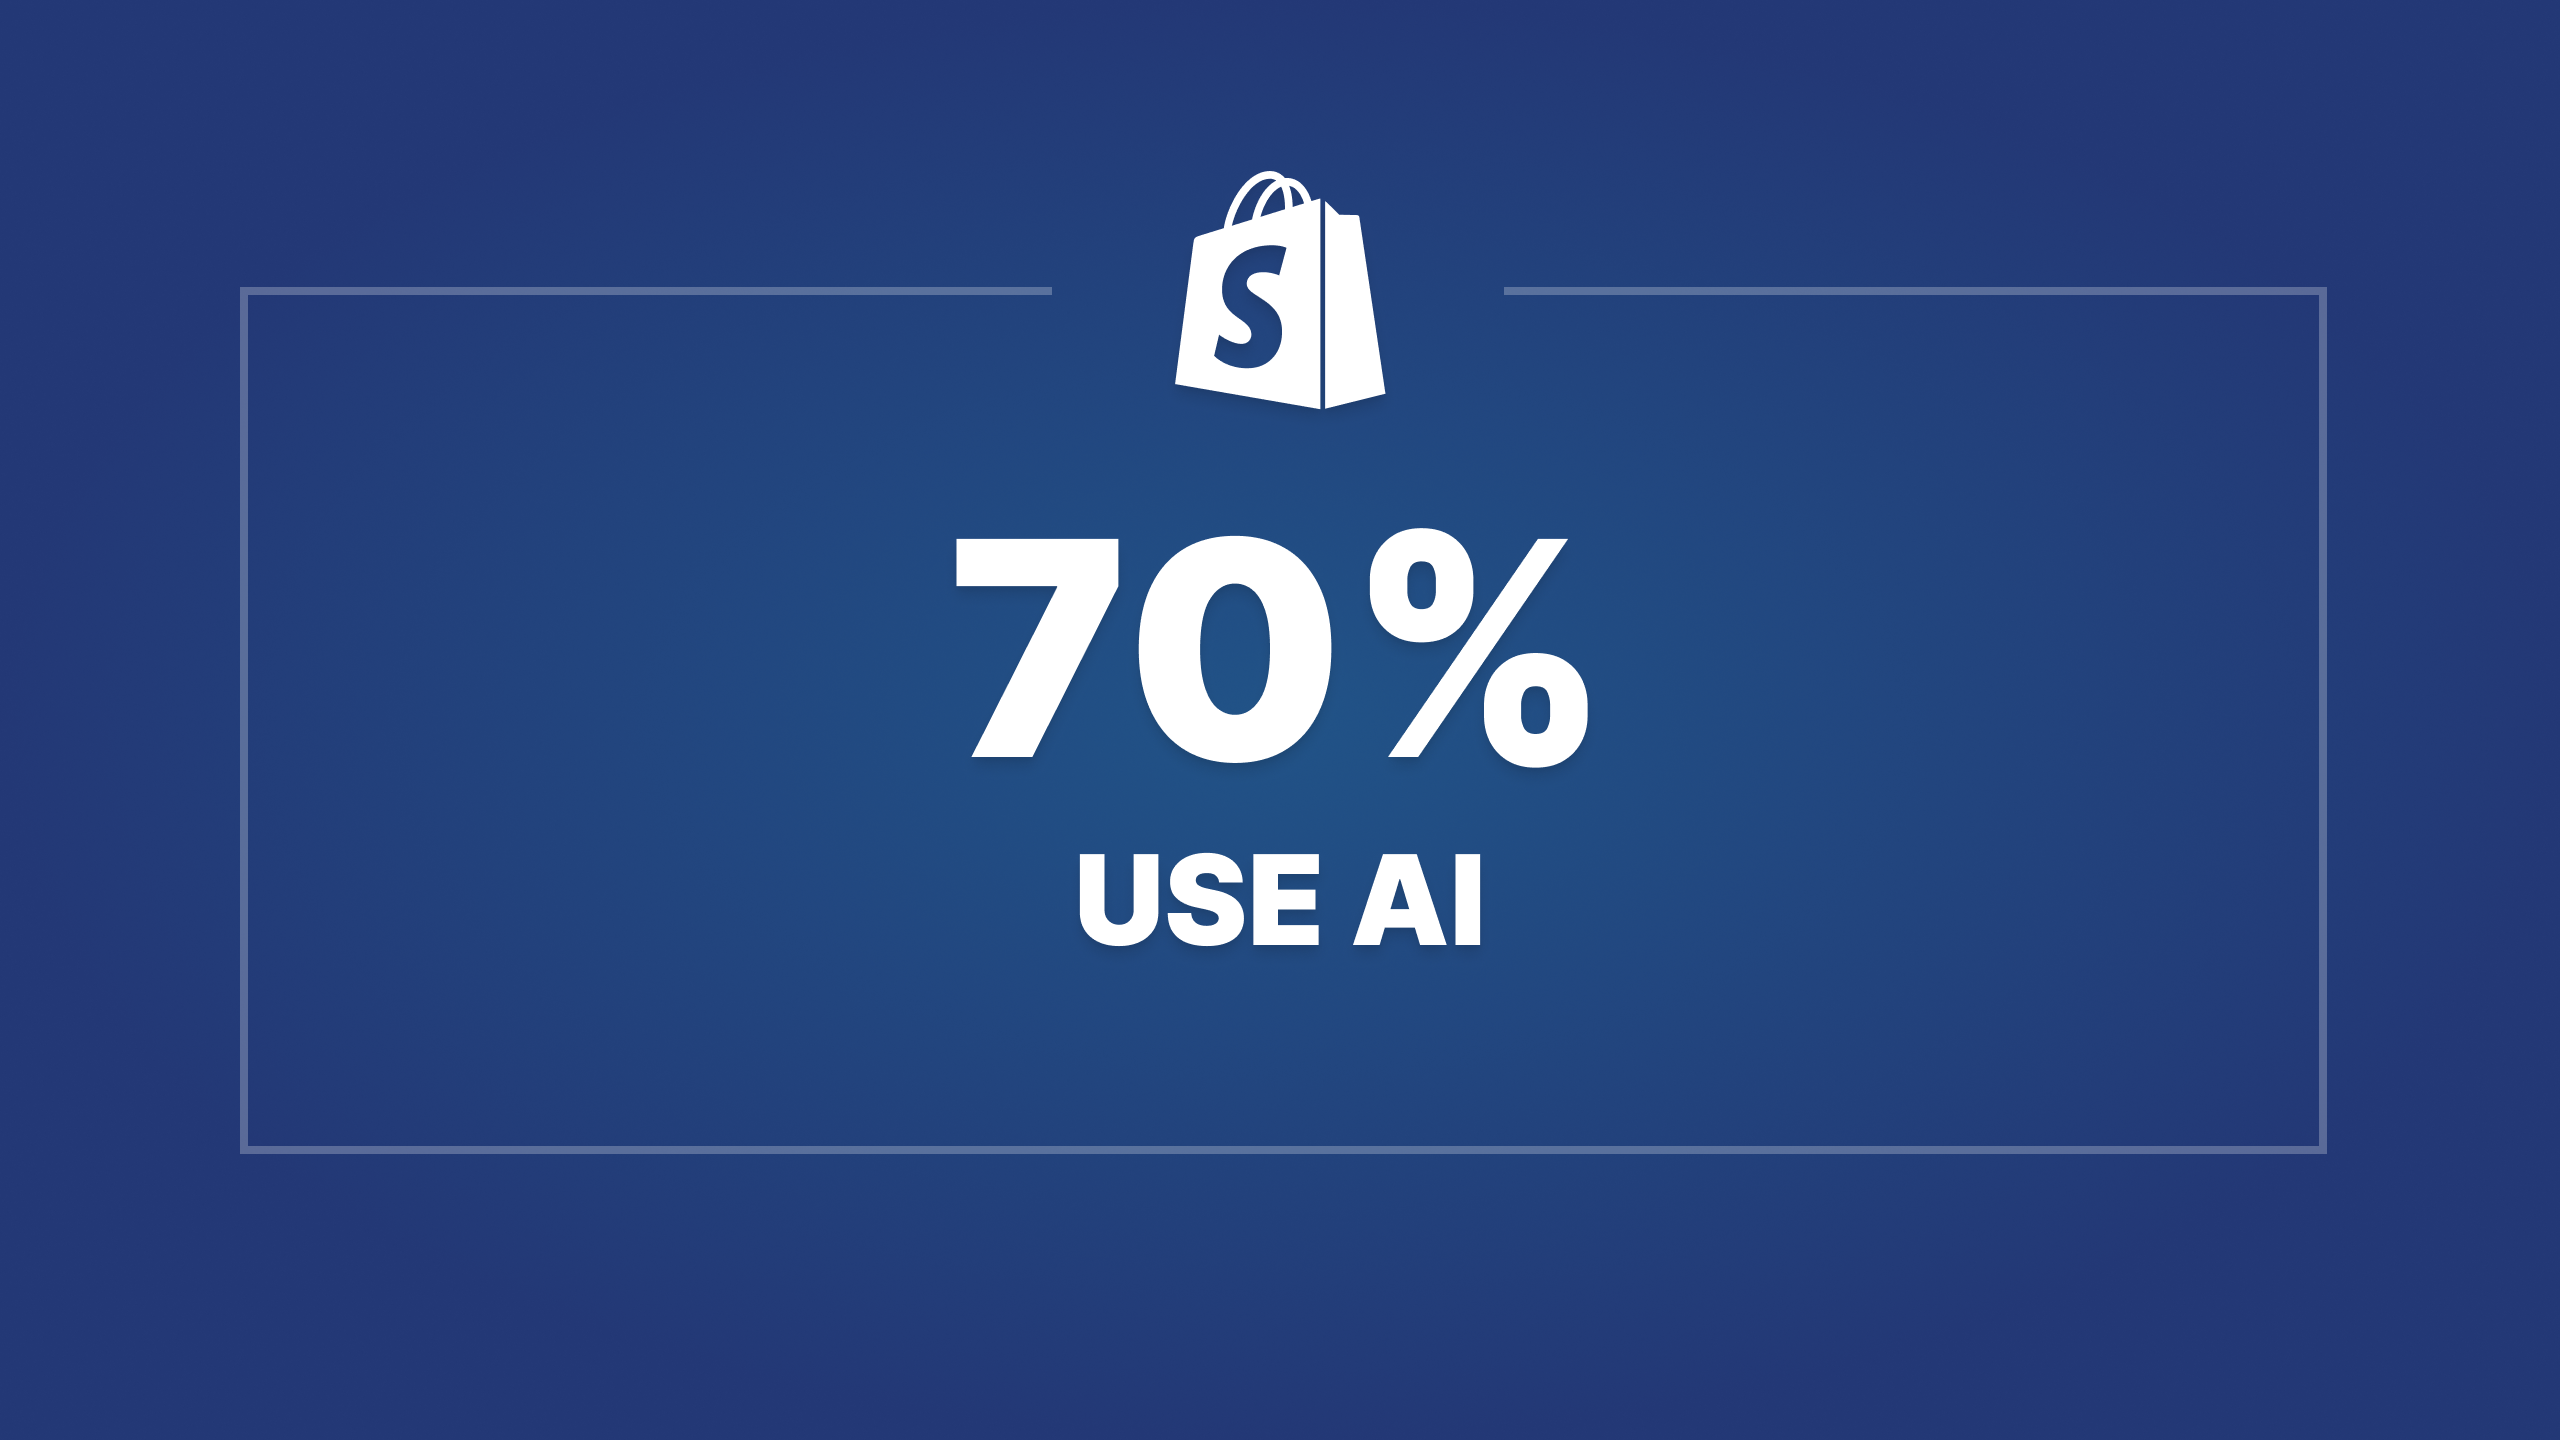
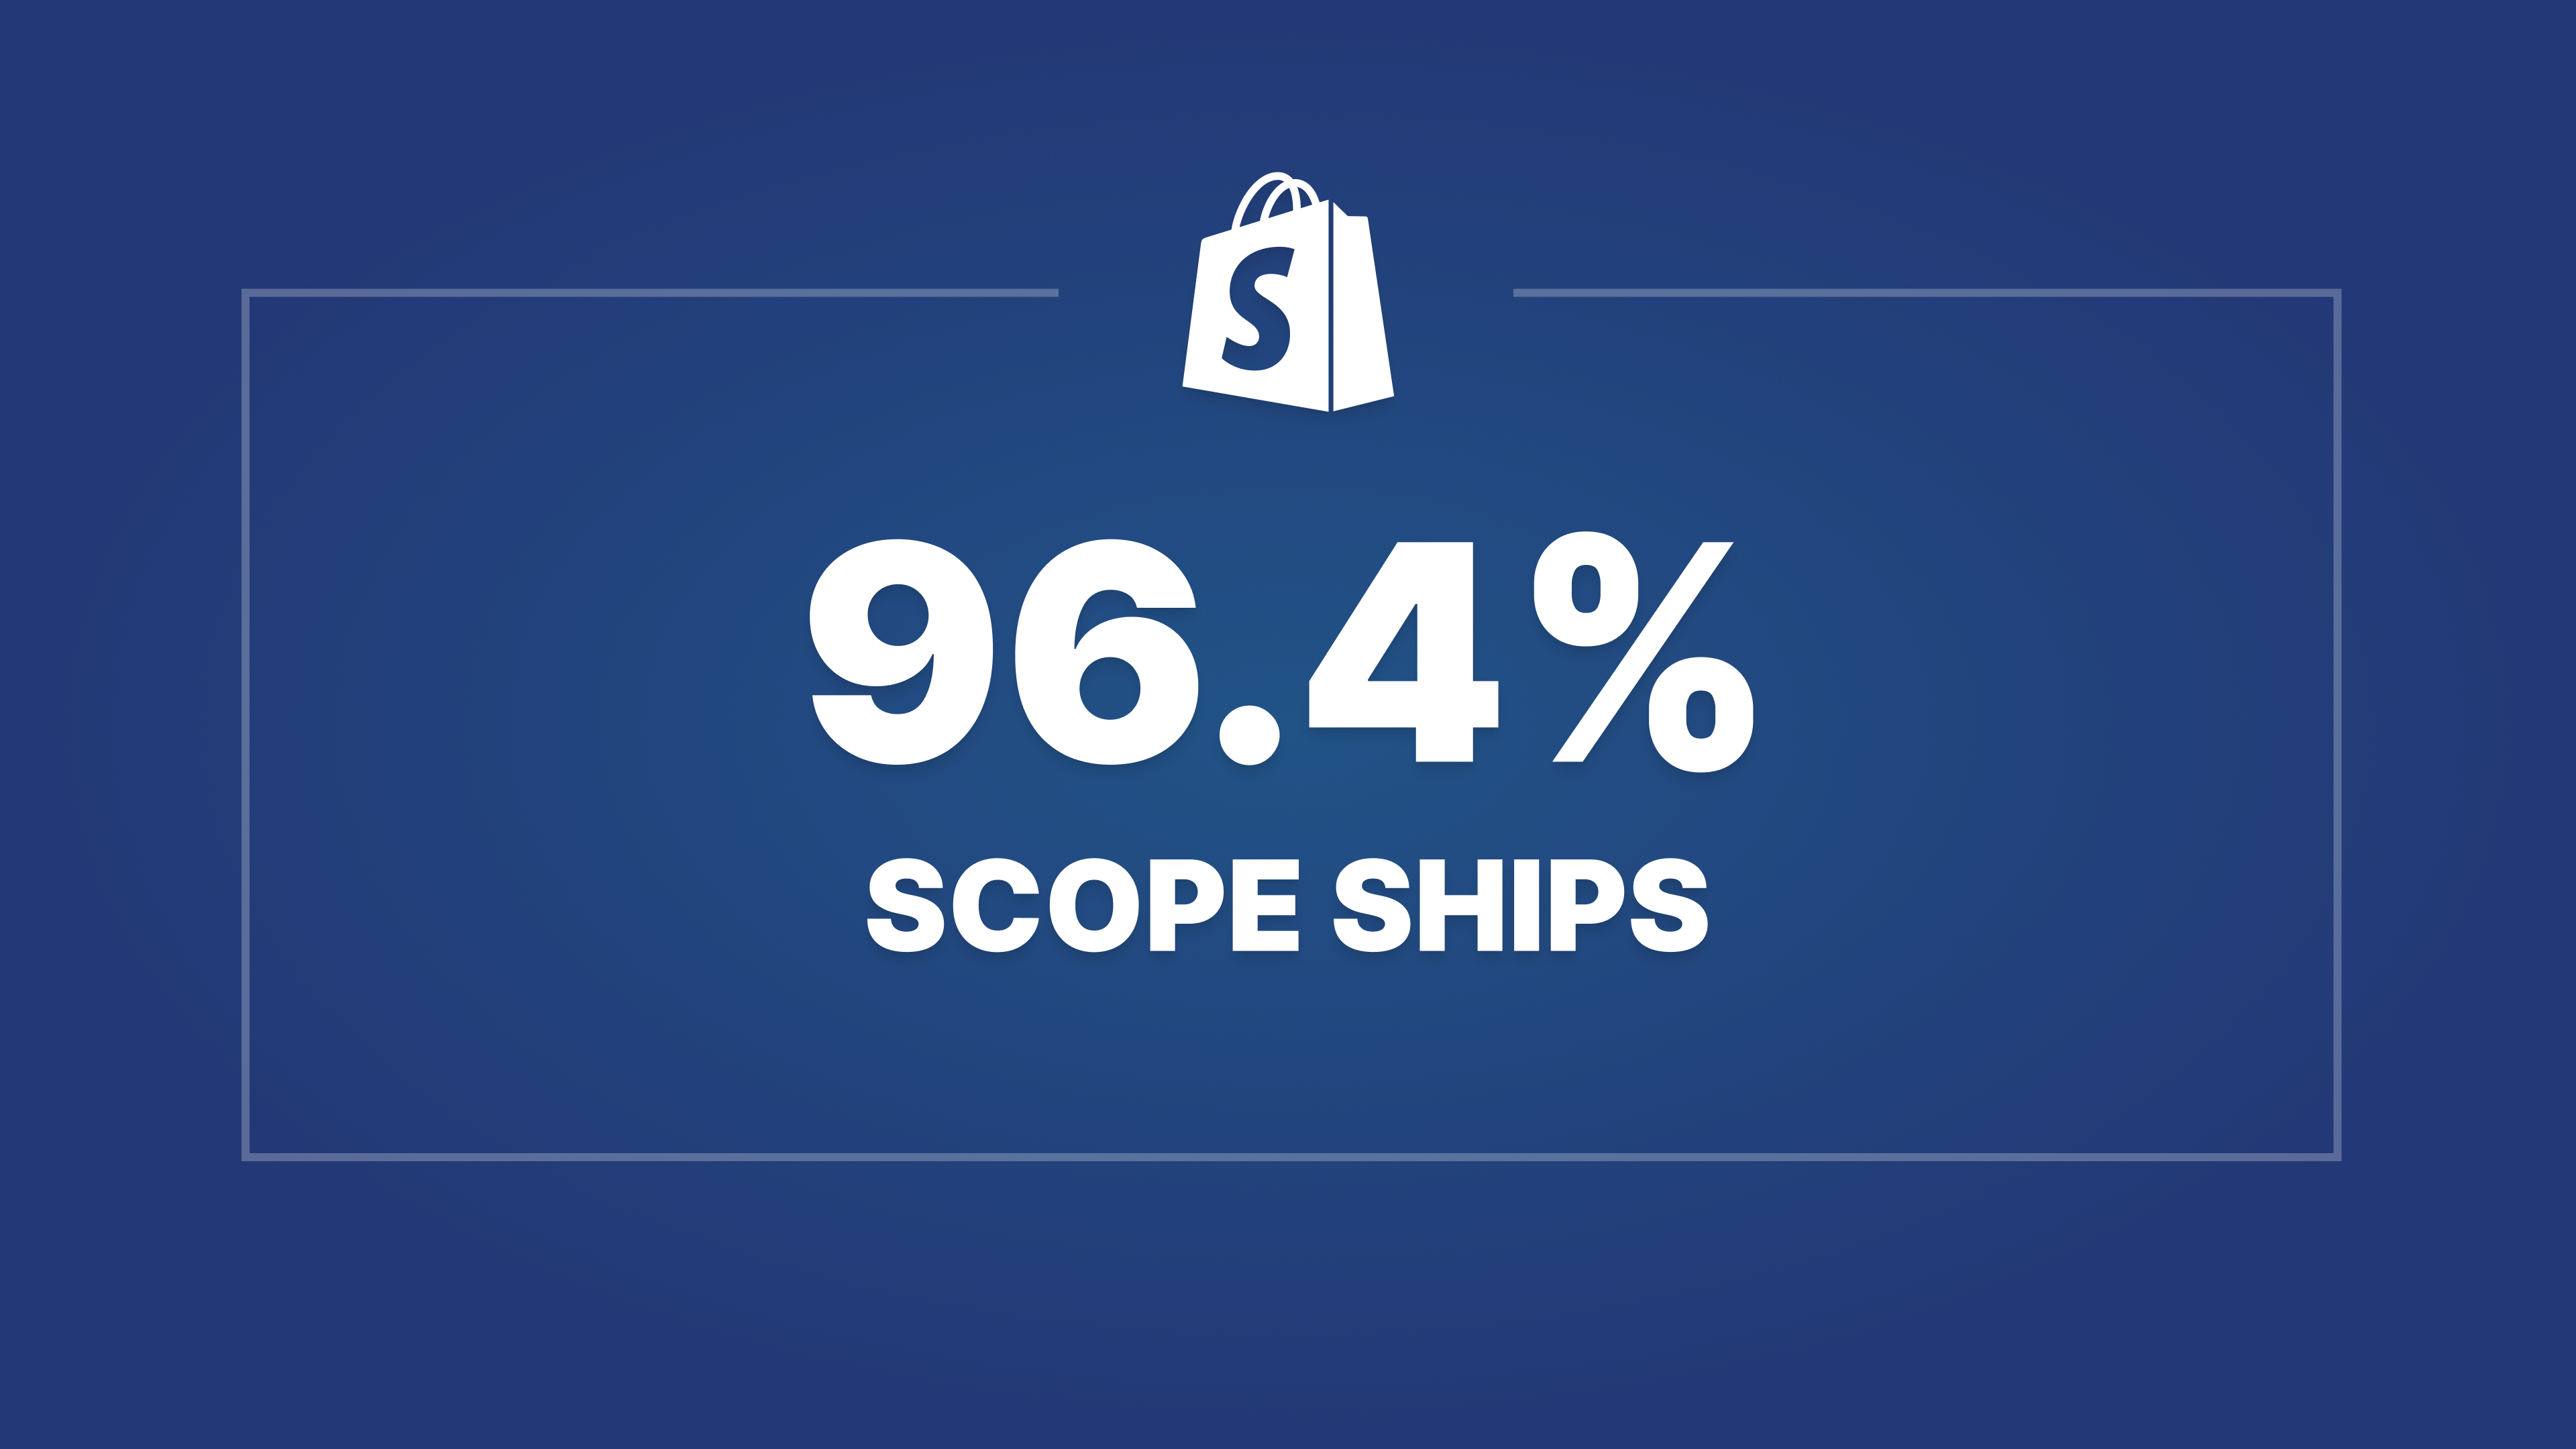
Of 1,374 workflows built by Shopify merchants in Q1 2026, only 50.1% shipped — but workflows with an AI step shipped at 70.3%.
1,374
workflows analyzed
50.1%
activation rate
70.3%
AI-powered shipping rate
Read research →
14 min read • Updated June 2026

If you've never automated a Shopify workflow, begin here.
Primary Research • Published Quarterly
All research →How Shopify merchants actually automate
Original data on activation rates, AI adoption, and workflow trends. Methods open, datasets attached.
Strategic Guides • Always Current
All Shopify automation guides →Shopify automation guides
Long-form references covering the automation strategies that compound over time — not tied to a single app update or trend.


Hands-On Tutorials
All workflow tutorials →Build specific Shopify workflows
Step-by-step walkthroughs for automating common Shopify tasks — with real workflow logic you can adapt.


Customer Results
All case studies →How merchants use MESA to automate at scale
Real workflows, measurable outcomes — from stores using MESA across order management, inventory, and customer experience.