Connect Claude to MCP Servers for Better AI Capabilities
by
Ryan ODonnell
Last updated:
April 17, 2025
Claude has powerful AI capabilities that can boost productivity and simplify your work. However, unlocking Claude’s full potential depends on how well you can connect it to your existing apps and data sources. That’s where MCP server Claude integration comes in, enabling seamless connectivity between Claude’s AI tools and the rest of your workflow.
MCP is a secure communication layer that allows Claude Desktop to both access and interact with your digital tools. Instead of manually jumping between disconnected apps, MCP gives Claude the ability to instantly retrieve the right data—and just as importantly, use the appropriate tools to act on it. This keeps your workflows not only informed but also actionable and efficient.
This guide will explain how MCP works and how it can improve interactions between Claude and your apps. We’ll also walk you through the steps to connect Claude to an MCP server and innovative ways to manage these integrations. By the end, you’ll clearly understand how MCP can help your business and simplify daily tasks.
Try MESA today! The easiest way to get started with MCP — just paste one line and securely unlock over 4,000 new actions.
Topics:
How to connect Claudeto the MESA MCP server (no code example)
MESA MCP simplifies the process with a zero-code approach that connects Claude directly to your tools with a single MCP server. This quick setup makes Claude more context-aware of your everyday apps.
Step 1: Start with the MESA MCP trigger
To begin with, create a new workflow in your MESA account and select MCP as the first trigger. This trigger is the glue between Claude and the apps you want to use.
Step 2: Choose relevant app actions
Then, select the app actions Claude will use—like checking inventory on your Shopify store, sending an email, or updating an Airtable row. Each action corresponds to a skill Claude can invoke. Choose actions that match the tools you work with so Claude has the right skills available.
Step 3: Define MCP trigger parameters
Trigger parameters are the input fields that power your workflow. These values act as variables inside Claude—captured at the start of the workflow and passed through to subsequent steps.
Each parameter includes a name (e.g., “Order number”) and a description (e.g., “A unique numeric identifier for a Shopify order”), helping users understand what’s required.
Consequently, by defining clear parameters up front, you make your workflow flexible, reusable, and ready to handle dynamic input every time it runs.
Step 4: Turn on your workflow
Once you’ve defined your skills and parameters, turn your workflow On. This will enable Claude to access your MCP server skills.
Step 5: Copy your MCP configuration snippet
Copy the unique configuration JSON snippet from the trigger—keep it confidential like a password—as Claude Desktop will need this information to connect to your MCP endpoint.
Step 6: Register MCP endpoint in Claude’s developer settings
Go to Settings > Developer in Claude Desktop and paste your copied MCP configuration snippet into the designated area. This will register your MESA MCP server with Claude so that it can talk directly to your apps.
Step 7: Relaunch Claude desktop
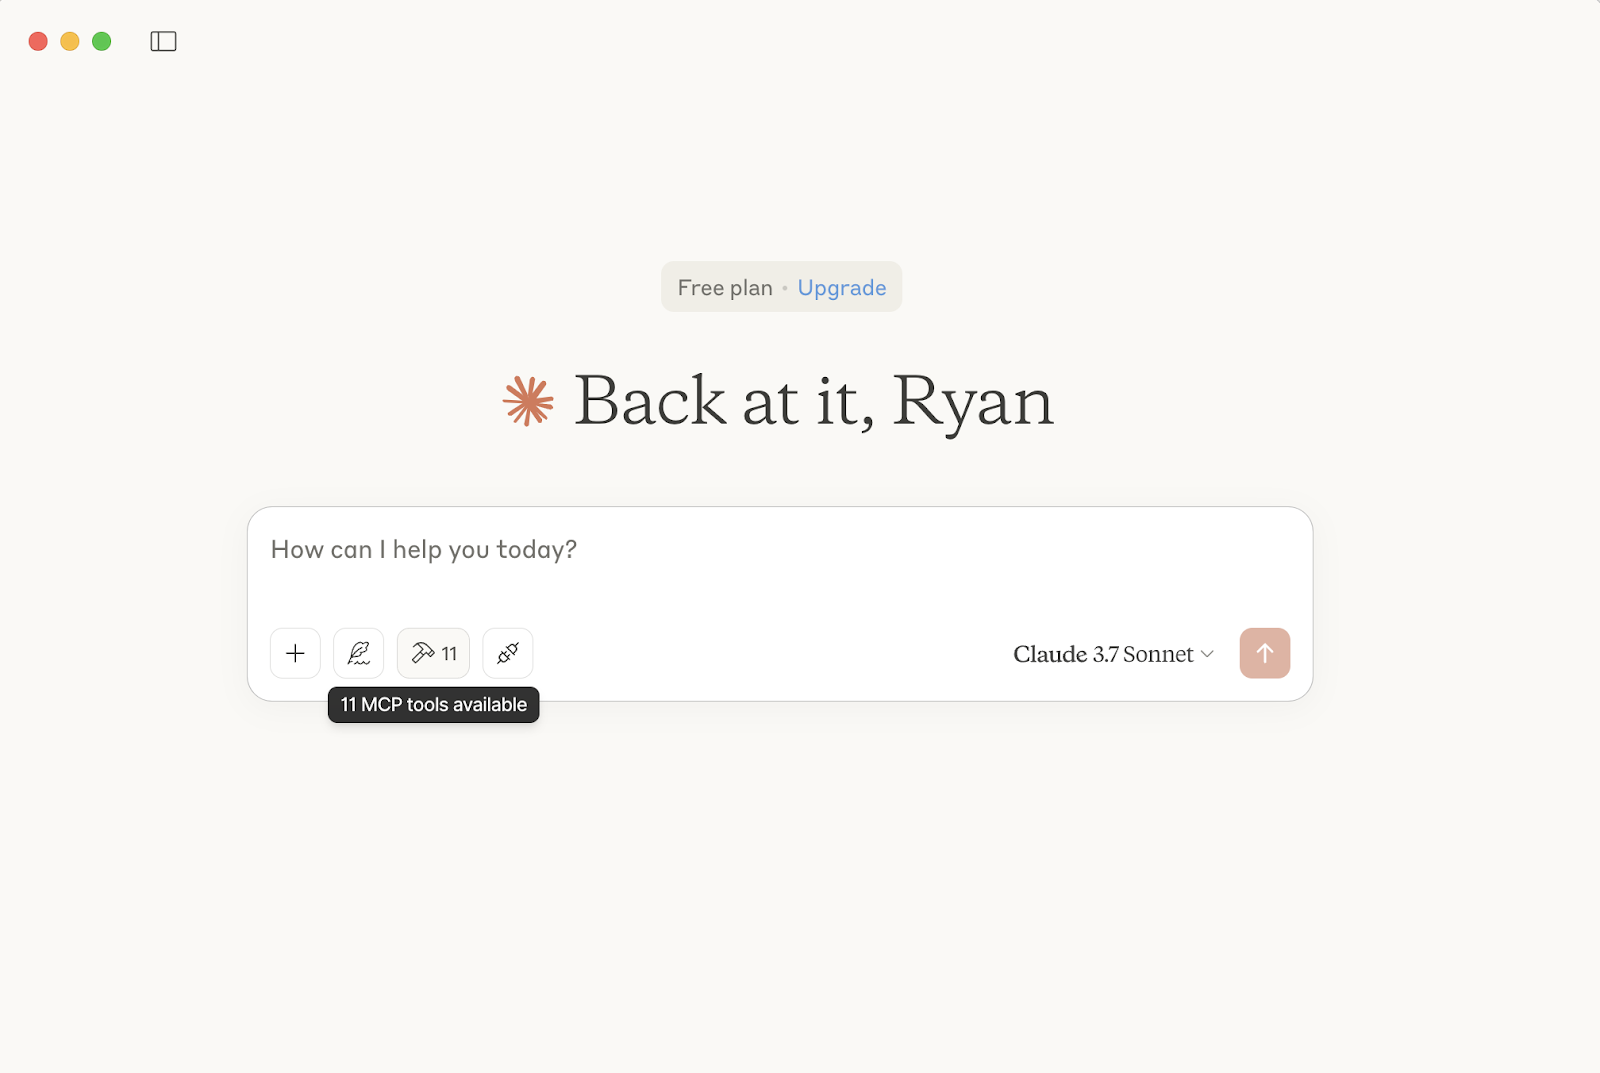
After saving your changes in Claude Desktop, exit the app and reopen it. When you restart, check for the MCP tool icon below your input prompt to confirm everything is connected.
Step 8: Chat with Claude Desktop
Start interacting with Claude Desktop about the data it can now connect with. Imagine the possibilities!
Ready to use MCP workflow templates
MESA Template ID
mcp-send-slack-message
MESA Template ID
mcp-send-google-calendar-invite
MESA Template ID
mcp-email-send
MESA Template ID
mcp-3-day-weather-forecast
Why MESA MCP is the smarter way to extend Claude
If you’re looking to give your AI assistant real capabilities—without writing code, or scouring infrastructure setup from READ.me docs—MESA MCP is built for you.
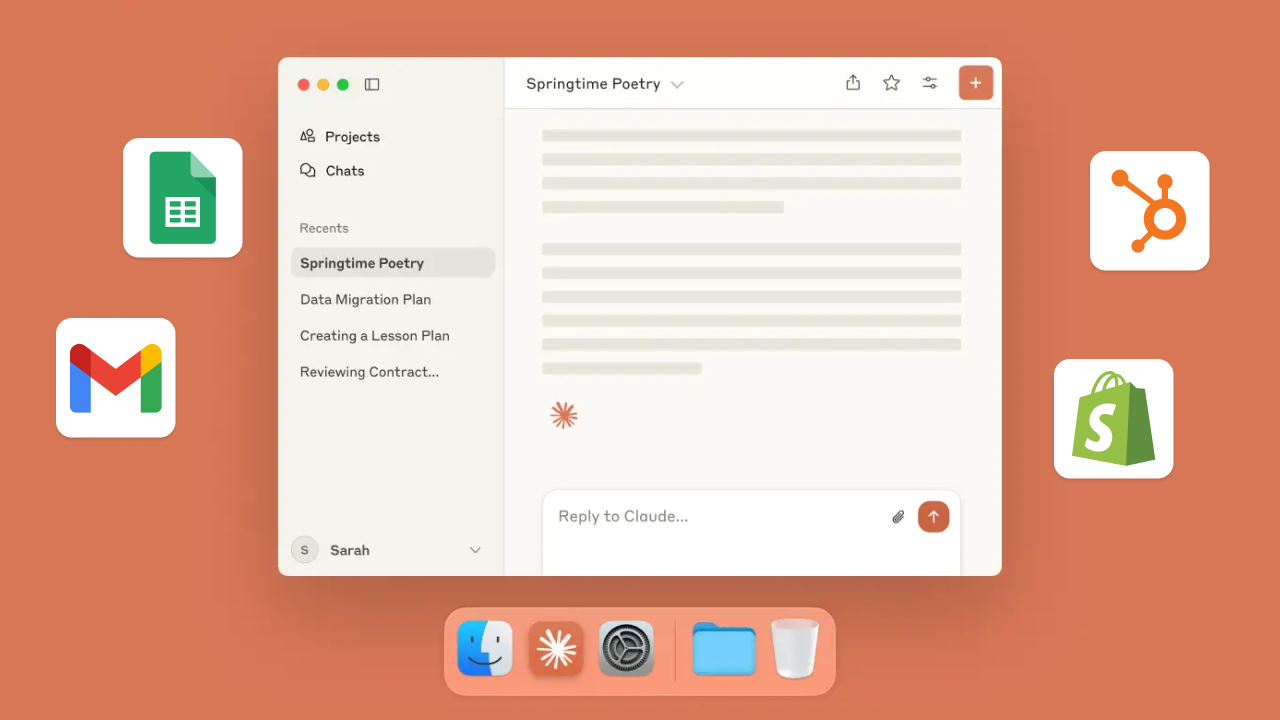
With one secure connection, you unlock access to thousands of actions across your favorite tools. No setup sprawl. No code. Just one snippet to plug Claude into a smarter, more capable stack.
MESA makes it easy to:
Chain skills in a single prompt
Control access to tools, data, and accounts
Add approvals for sensitive actions
Monitor and debug AI behavior
Scale your automations as fast as your ideas evolve
Whether you’re testing an idea or powering production workflows, MESA gives you the flexibility, visibility, and confidence to bring your assistant to life—fast.
How to connect Claude Desktop to an MCP server (File system example)
Time needed: 5 minutes
Follow the steps below to configure Claude Desktop’s access to local system files via MCP. This is a great way to understand how to set up MCP servers and interact with the data on your local machine!
Prerequisites: Claude Desktop application is already installed on your machine A code editor like Visual Studio Code or Sublime Text Node.js (version 20.1.0 or newer) installed locally
Install Claude desktop
Visit the Claude Desktop download page and install it for your operating system. Launch it once installed.
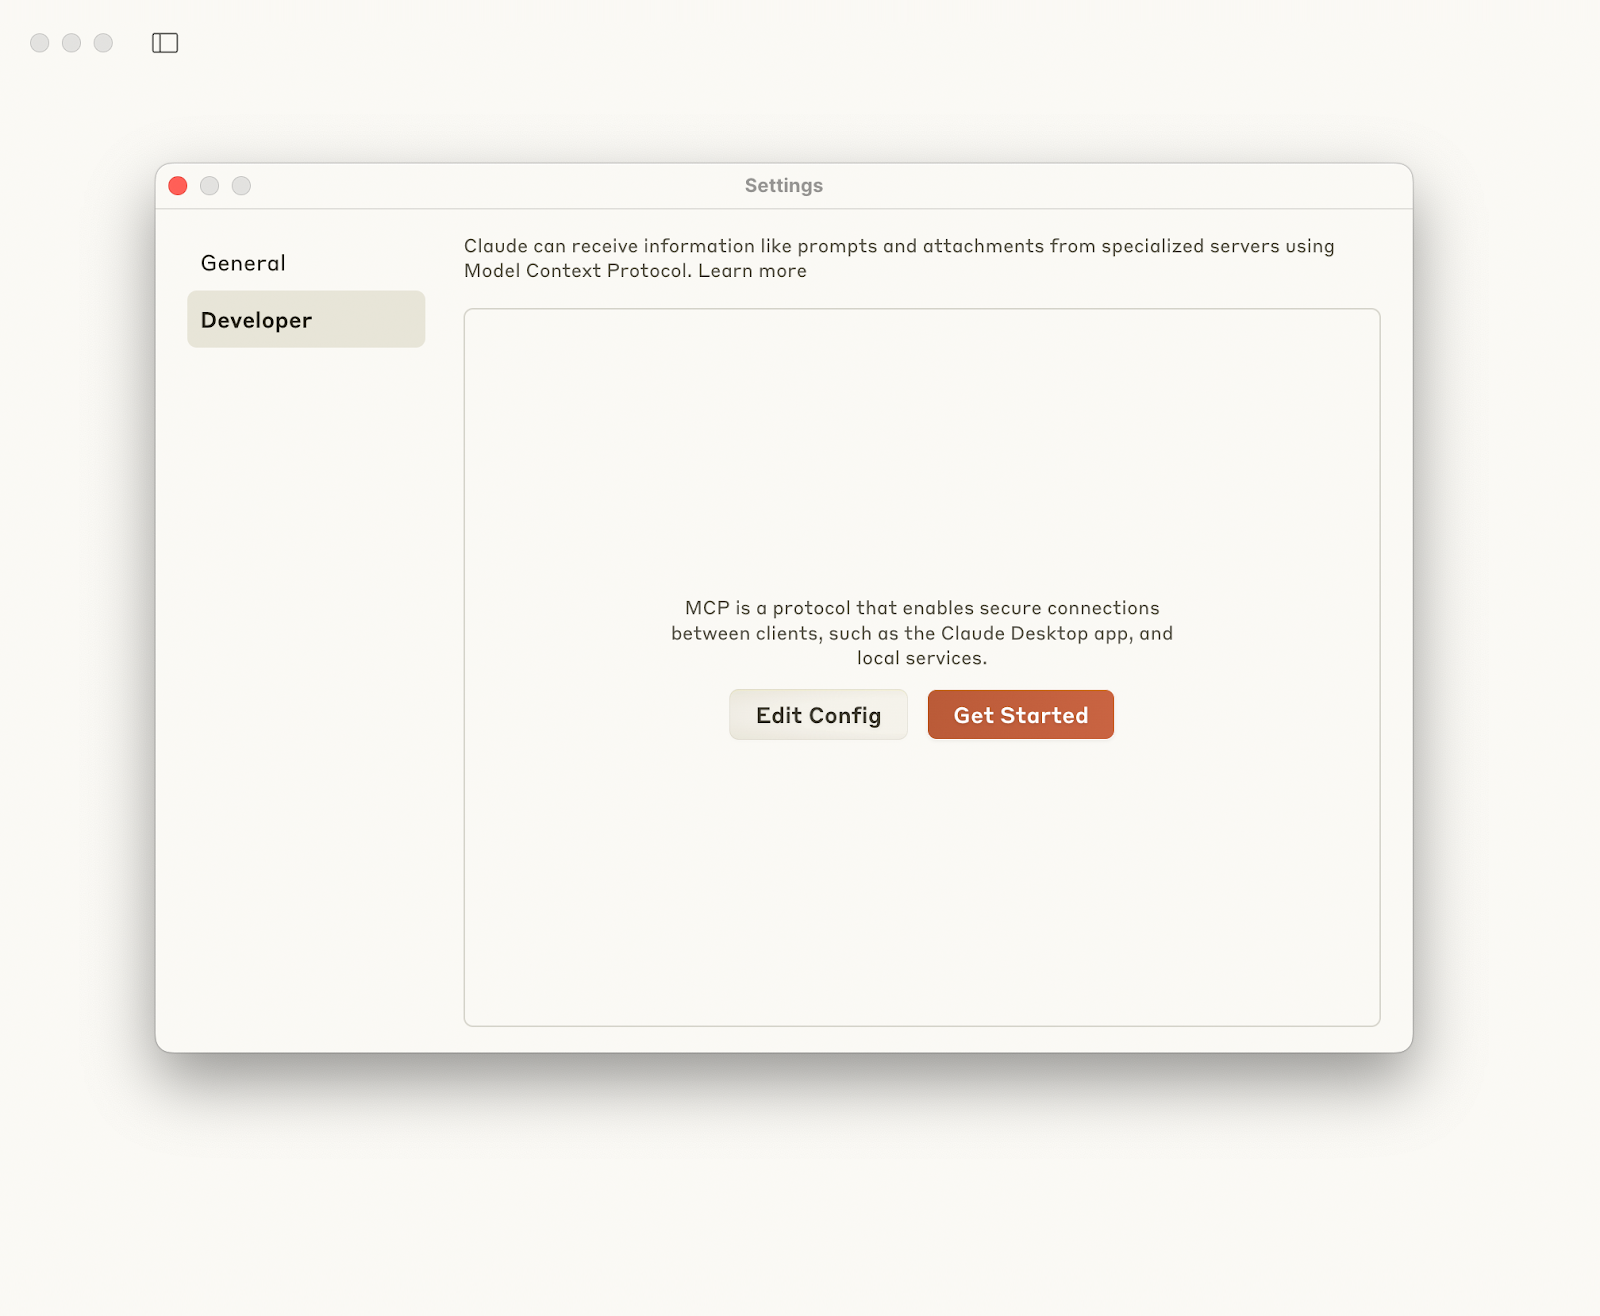
Open developer settings
Inside Claude Desktop, go to Settings, navigate to the Developer tab, and click “Edit config.”
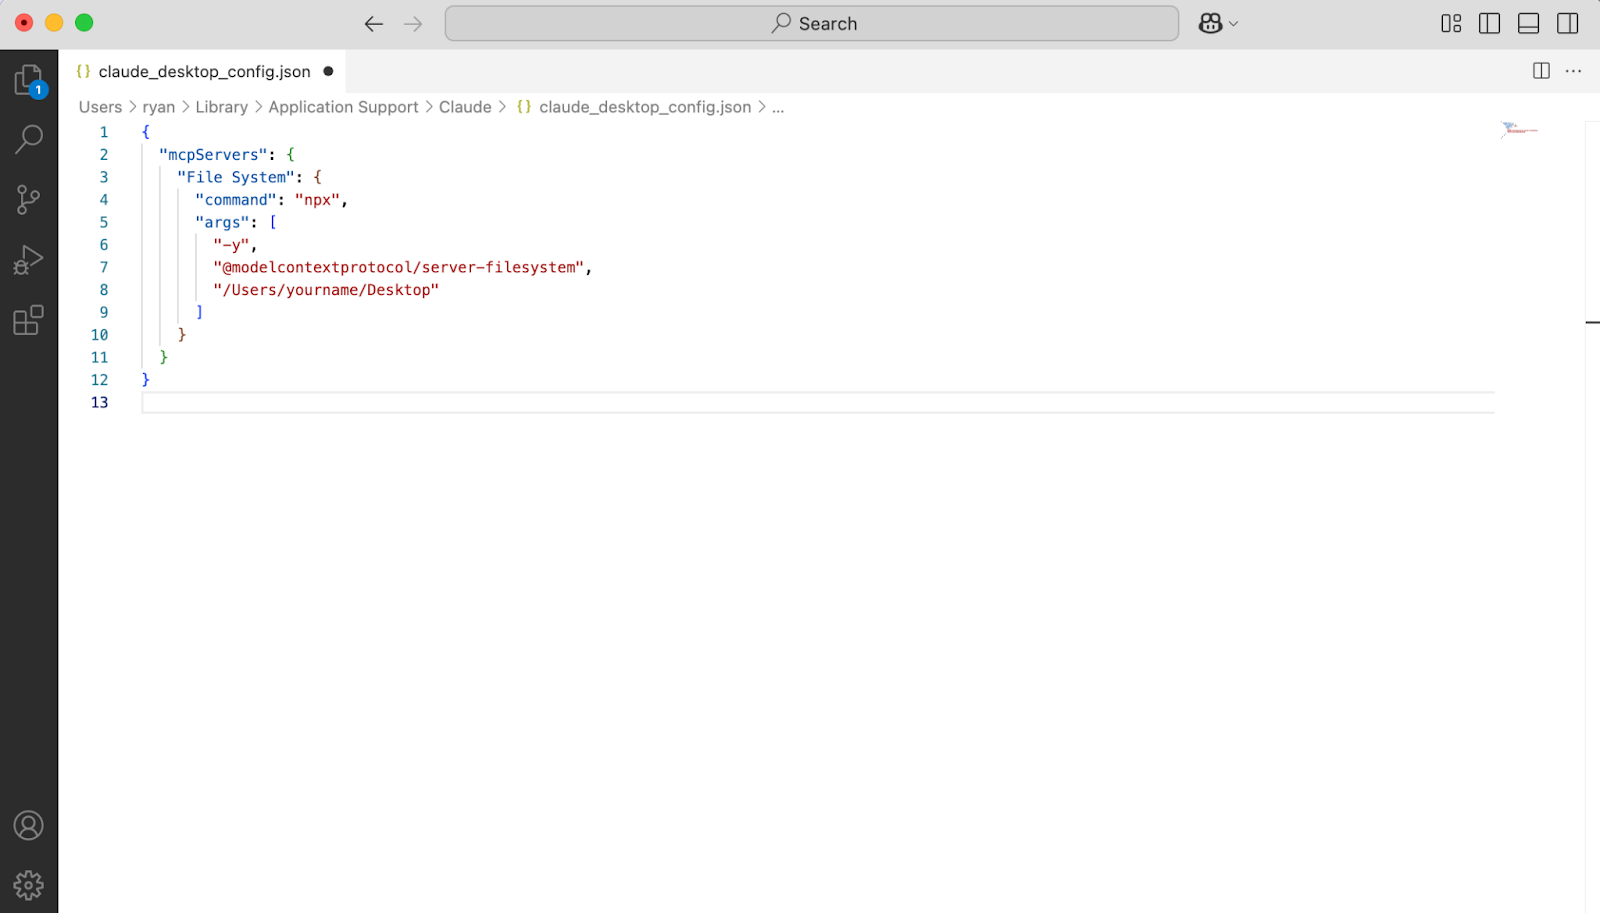
This will create and open a file named claude-desktop-config.json. If you’re starting from scratch (like we are), this file will be empty.
Add MCP Server Configuration
Inside the JSON file, define the MCP servers you want Claude to use. For the file system server, add the following configuration (update the paths to your actual system):
name: The label you’ll see inside Claude Desktop. command: The tool used to launch the server. args: Arguments passed to the command. The –allow flags grant access to specific directories on your machine.
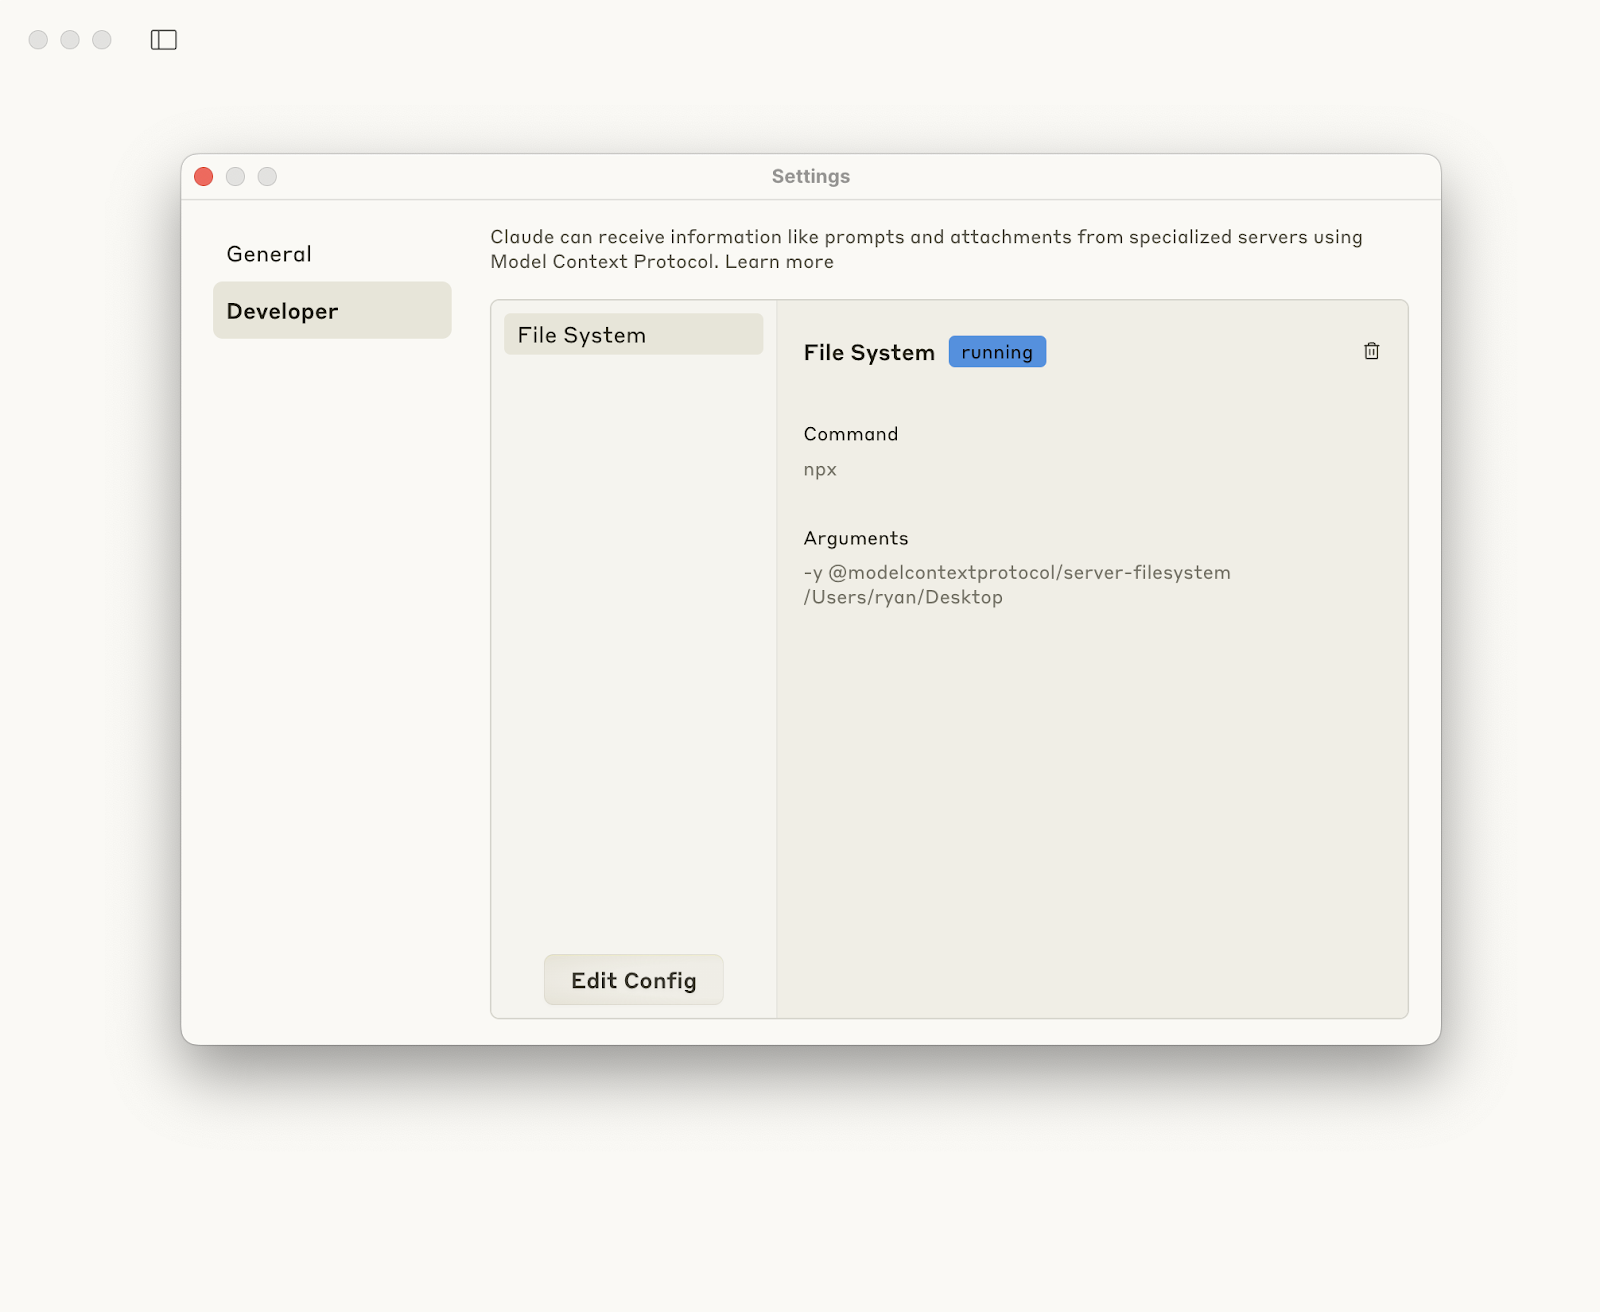
Save and restart Claude desktop
After saving the JSON file, quit and reopen Claude Desktop. Then, go back to Settings > Developer to verify that your File System MCP server is now listed and shows as “running.”
If it’s not running, double-check your JSON syntax and path formatting.
Test the file system server
Try issuing a command like: “How many files do I have in my Desktop folder?”
Claude will attempt to use the list Directory tool the MCP file system server provides. The first time it runs, it will prompt you for permission to access your local files.
Allow access when prompted. You should then see the number of files in your folder and a list of file names and paths (expandable via dropdown).
How to connect to 3rd-Party MCP servers
Now that you’ve connected Claude Desktop to your local file system using an MCP server, you can level up by connecting to third-party tools.
The Model Context Protocol is one example of a GitHub repository that maintains a growing list of prebuilt MCP servers for popular tools—Airtable, Notion, GitHub, and more.
To connect:
Visit the GitHub page and find the MCP server (or another service you need).
Follow the setup instructions in the server’s README (this often involves generating an API key or setting environment variables).
Add the server to your claude-desktop-config.json file—just like you did with the file system server—using the correct command and arguments.
Restart Claude Desktop and check your Developer settings to confirm it’s running.
Once connected, Claude can use tools exposed by that service.
Instead, for a simpler, more centralized way to manage multiple MCP servers—without editing JSON files—MESA MCP offers a universal approach to installing, configuring, and controlling them all in one place.
Troubleshooting Claude’s configuration for each machine can be challenging since it depends on your machine. Check out our technical docs for additional details on resolving standard setup requirements.
Can MCP connect Claude to external systems and APIs?
Yes, MCP (Model Context Protocol) can connect Claude (or any AI agent that supports the MCP standard) to external systems and APIs by acting as a structured, secure interface between the AI and real-world tools, such as Shopify, Airtable, or Notion.
What you should do now
Whenever you’re ready…here are 4 ways MESA can help you get more done:
Sign up for MESA. The best way to get started is sign up for MESA today. Every plan includes the first 7-days free so you can be assured your workflow is running properly.
Browse pre-made templates. Our customizable workflow templates are a great way to get started more quickly.
Talk to our automation experts. If you need help personalizing any workflow template, guidance how to make any automation or, simply want us to make your workflow, we can help.
If you know another merchant who’d enjoy reading this page, share it with them via LinkedIn, YouTube, Twitter, or Facebook.
Talk to your apps with Claude and MCP
Use MESA MCP to connect your apps in Claude and use AI to get more done.