Show Inventory Levels By Location On Your Product Page
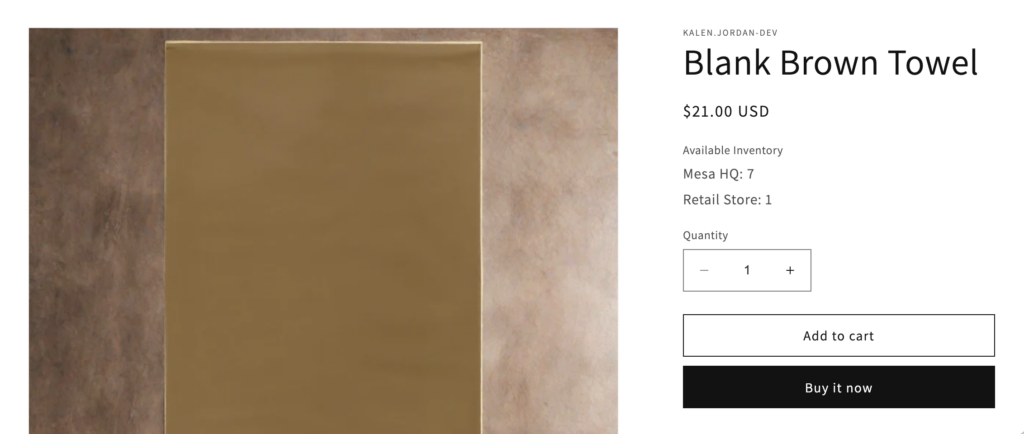
This workflow and code snippet for your product page will pull inventory levels by location on the fly and show them on your product page.
Topics:
Watch the demo
Product page sample

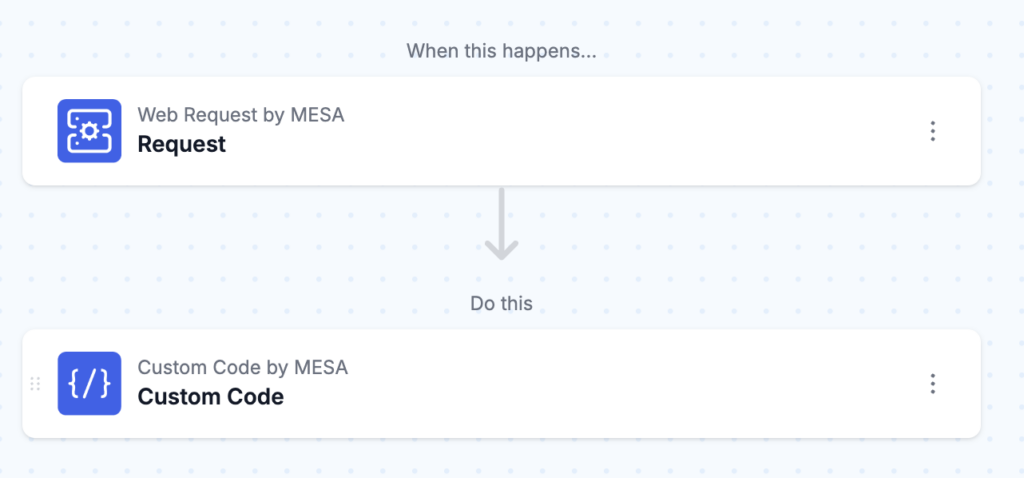
Preview workflow steps
The workflow simply responds to a web request that will be coming via Javascript and responds with the inventory levels.

Liquid code for theme
You’ll want to copy and paste this code into a Custom Liquid section in the Theme Editor for your Product Page.
Note: this works for Dawn themes but custom themes may require some specific adjustments to this.
<fieldset class="js product-form__input">
  <legend class="form__label">Available Inventory</legend>
  <div id="mesa-output"></div>
</fieldset>

<script type="text/javascript">
  const WEBHOOK_URL =
    'https://webhooks.getmesa.com/v1/kalen-test-store/webrequest/66c8f84efa82fcb17905350d/66c8f84efa82fcb17905350f.json?apikey=p234WHl7GU5B9UC5xpGg35JrhXajoW38aWlhKxTI';

  function fetchJSON(url) {
    return fetch(url)
      .then((response) => {
        if (!response.ok) {
          throw new Error('Network response was not ok');
        }
        return response.json();
      })
      .catch((error) => {
        console.error('There was a problem with the fetch operation:', error);
      });
  }

  function showInventoryForVariant(variantId) {
    const outputDiv = document.getElementById('mesa-output');
    outputDiv.style.opacity = 0.5;

    url = WEBHOOK_URL + '&variant_id=' + variantId;
    console.log("MESA fetching inventory levels data: " + url);
    fetchJSON(url).then((response) => {
      let data = response.response;
      console.log("MESA inventory levels data: ", data);

      let levels = data.map((object) => {
        return object.location.name + ': ' + object.quantities[0].available;
      });

      let output = levels.join('<br>');
      outputDiv.style.opacity = 1;
      outputDiv.innerHTML = output;
    });
  }

  window.addEventListener('DOMContentLoaded', () => {
    let variantId = '{{product.selected_or_first_available_variant.id}}';
    showInventoryForVariant(variantId);

    subscribe(PUB_SUB_EVENTS.variantChange, (event) => {
      console.log('Variant change event:', event);
      let variantId = event.data.variant.id;
      showInventoryForVariant(variantId);
    });
  });
</script>
Free workflow
Note: This template runs each time the product page is loaded so we recommend the Unlimited plan.
Questions about this workflow demo? Contact:
Kalen Jordan
MESA Service Partner


