Automatic Alt Text For Your Shopify Images With ChatGPT Vision API
This set of workflows enables you to automatically generate SEO-optimized alt text for all images across your entire Shopify site, not just product images. An included approval step allows you to review and refine the alt text before it goes live, ensuring accuracy and relevancy. Enhance your site’s accessibility and SEO performance effortlessly with this comprehensive and intelligent solution.
Topics:
Watch the demo
Example: Approval step
Step-by-step guide to use ChatGPT Vision for writing product image alt text
Time needed: 30 minutes
We’ll walk you through setting up these workflows from scratch. To get started, be sure to add MESA to your Shopify store.
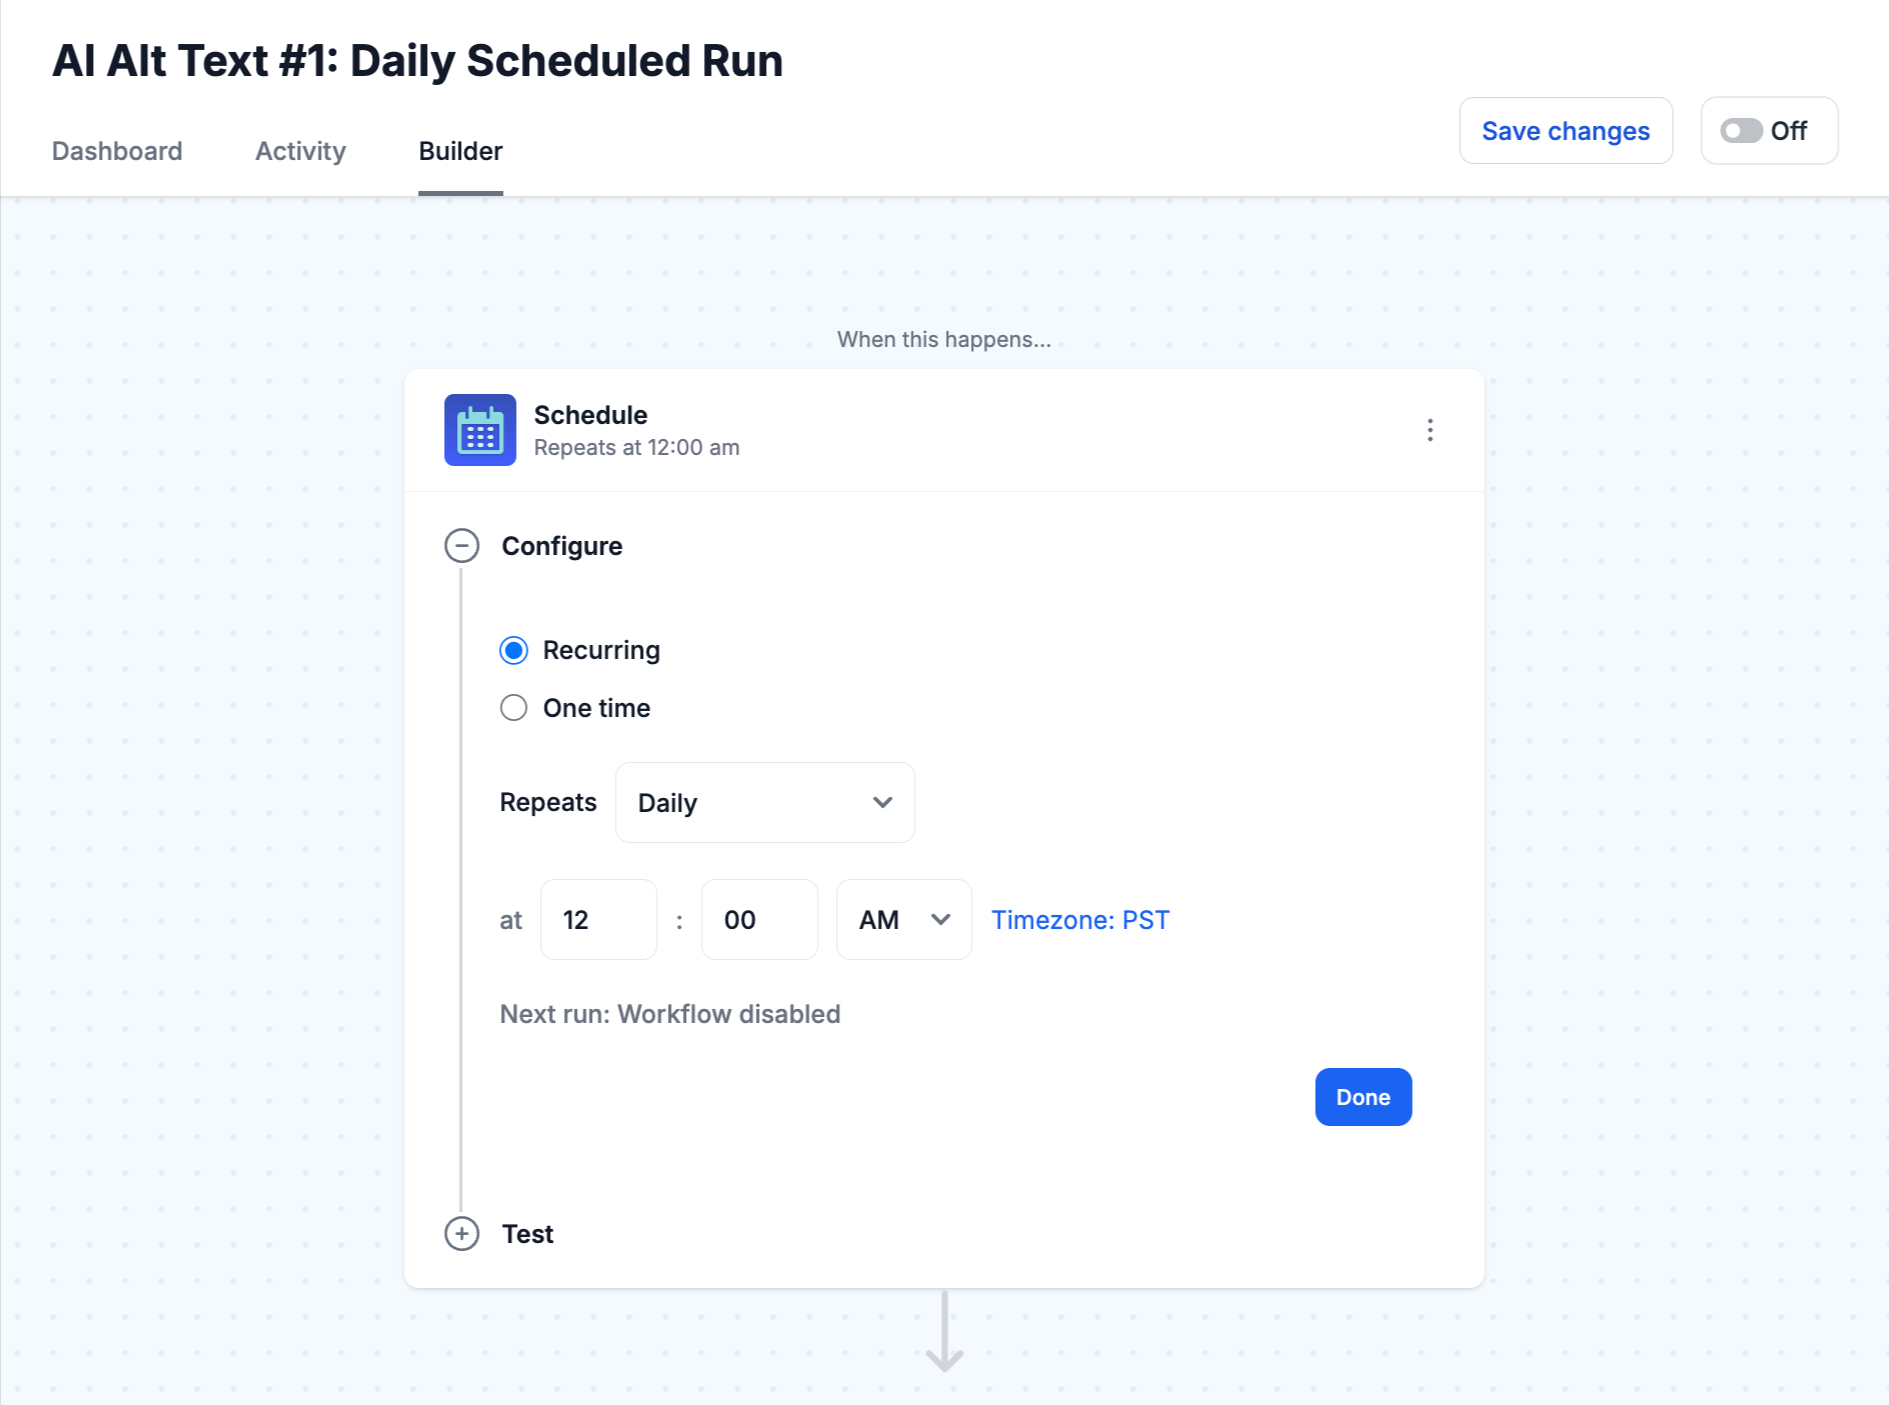
- Create a new workflow using the Schedule tool
This workflow simple contains the scheduling logic to call the second workflow needed.
- Next add a Code step
This is how we’ll call the next workflow in this series.
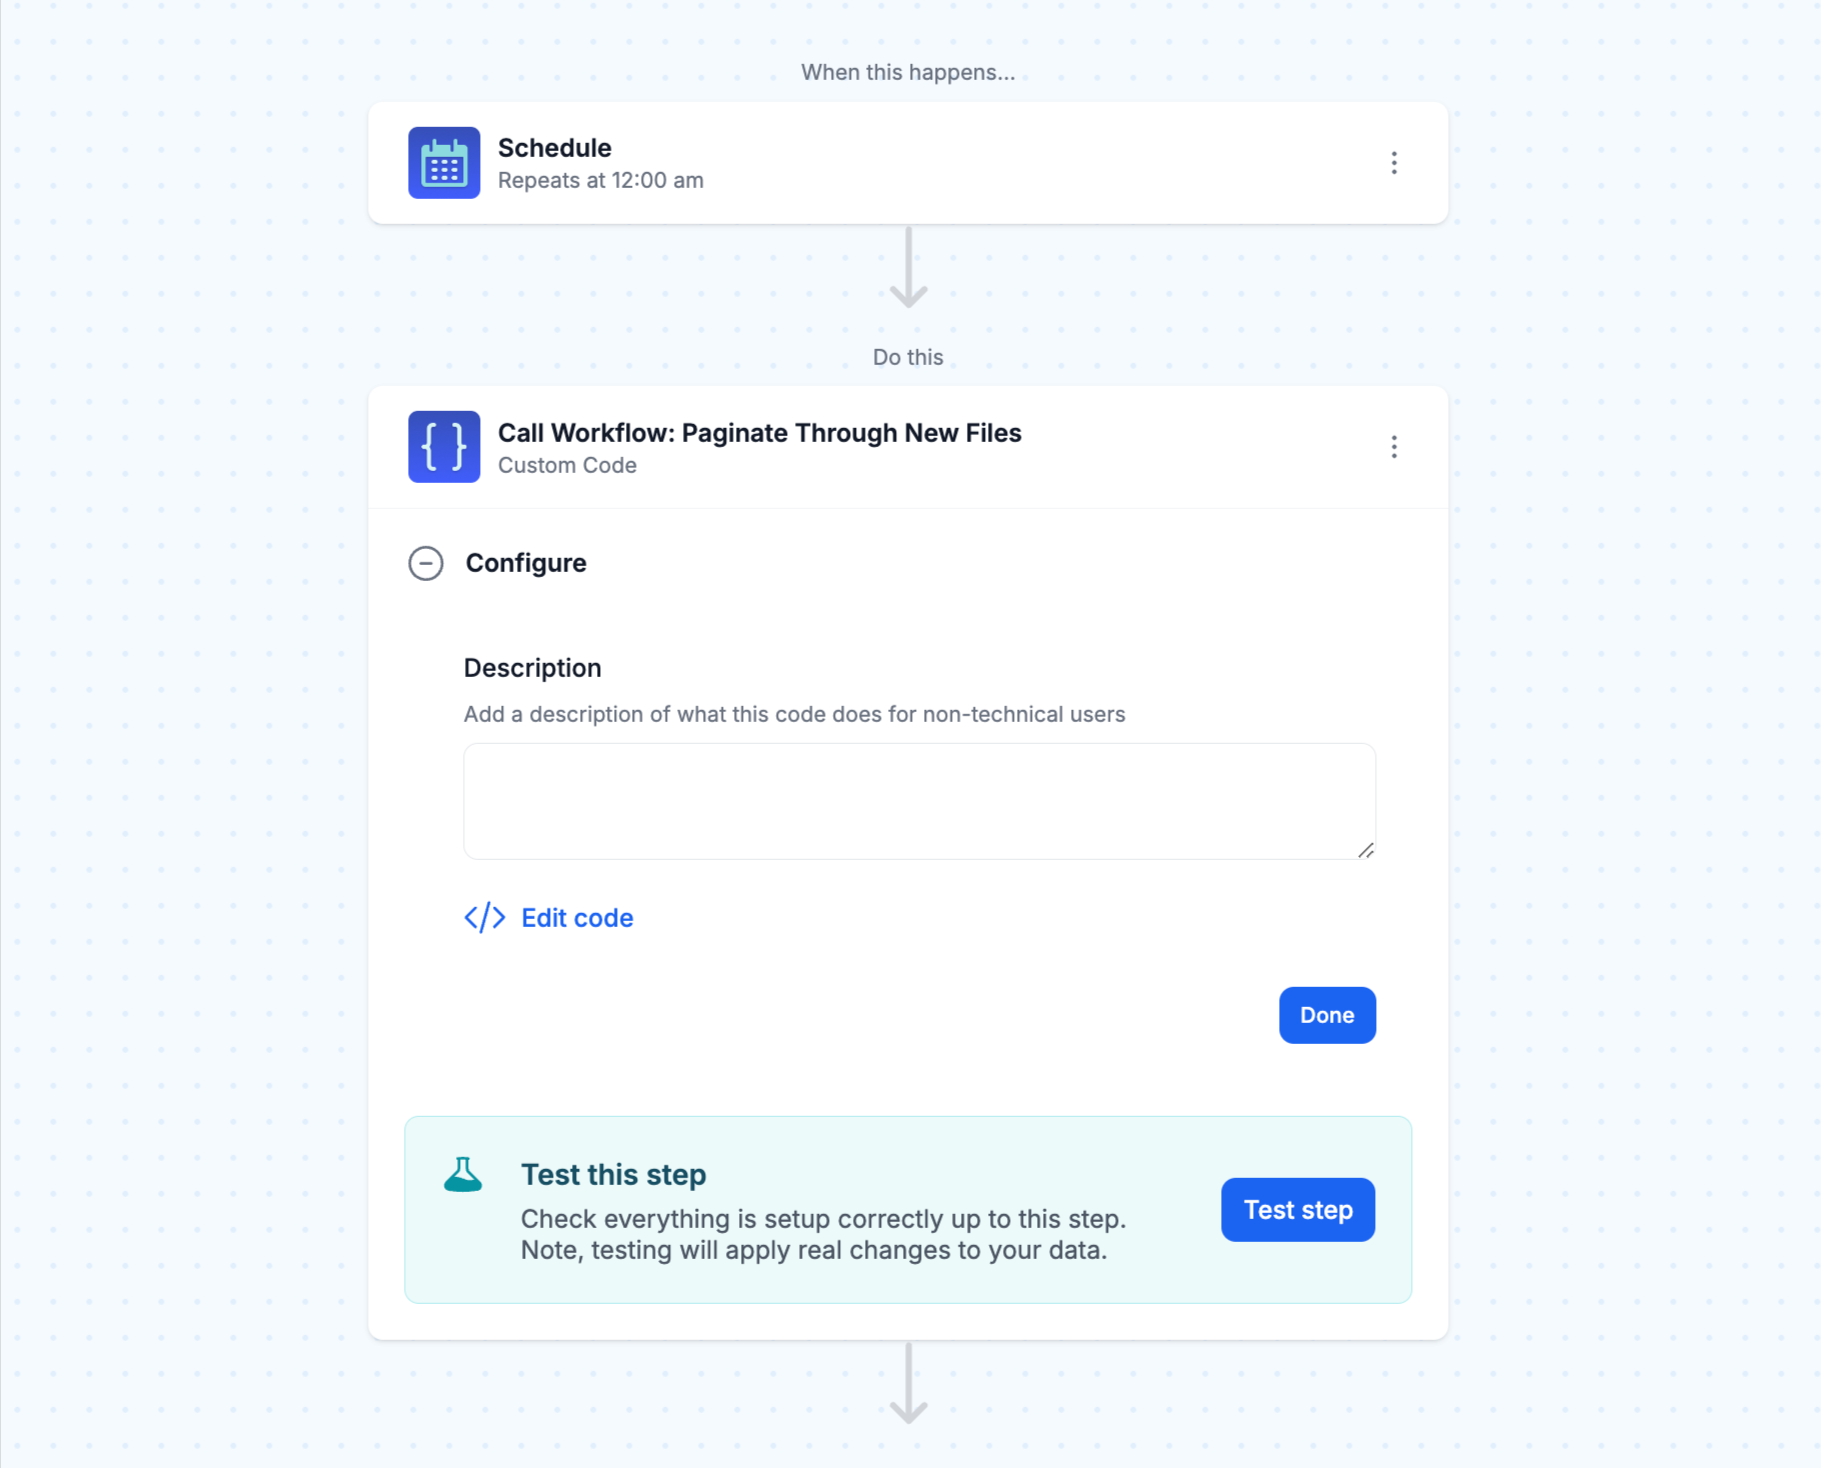
- Paste this JS script in the Code step
const Mesa = require('vendor/Mesa.js');
module.exports = new class {
  script = (payload, context) => {
    const vars = context.steps;
    Mesa.automation.send('AI Alt Text: Paginate Through New Files');
    Mesa.output.next(payload);
  }
}
Note: Be sure the name of your second workflow matches the name in this code step.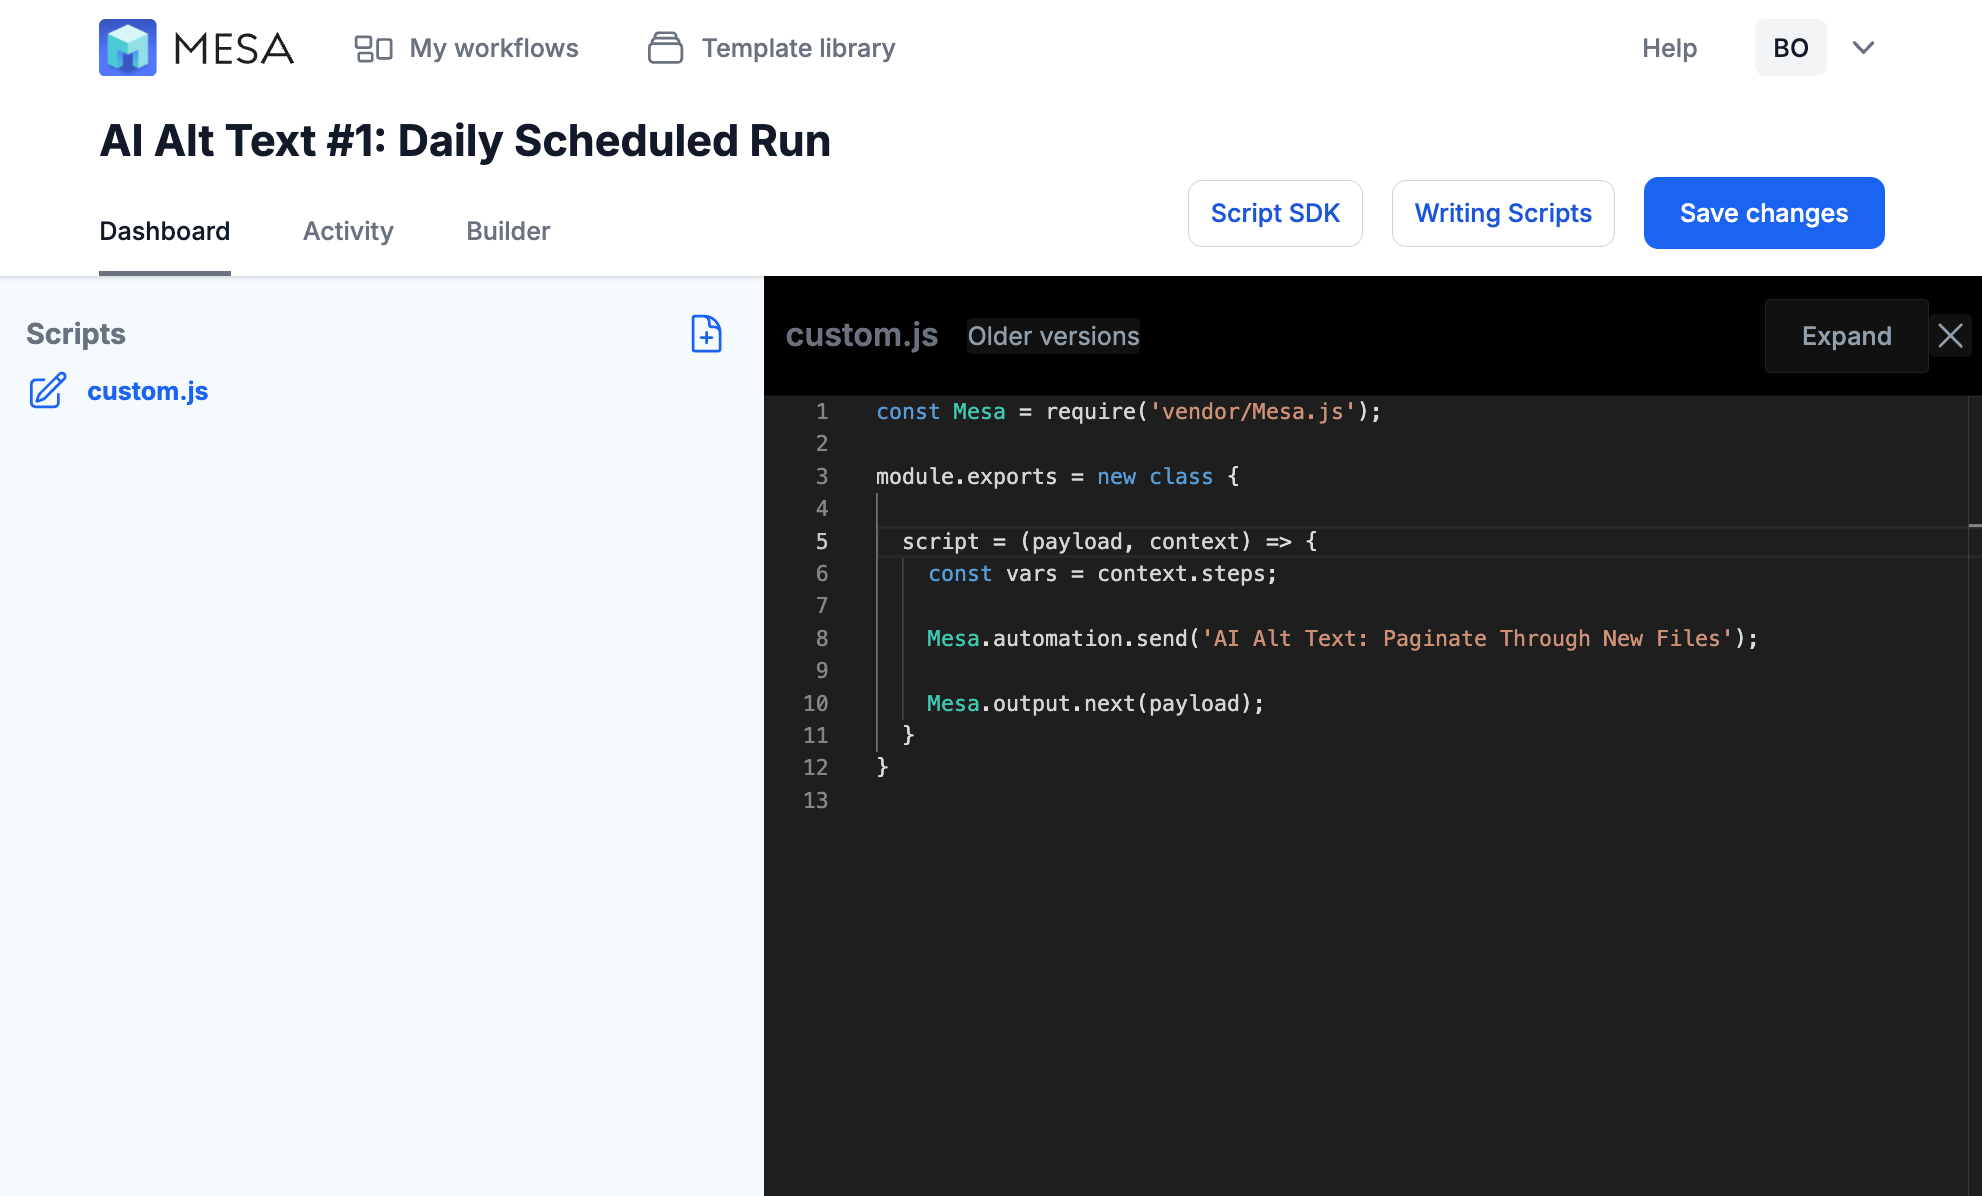
- Next, create the second workflow using the Webhook Received trigger
This step initiates the workflow when a webhook is received, passing data such as the host URL into the workflow. This allows the process to start automatically based on external triggers.

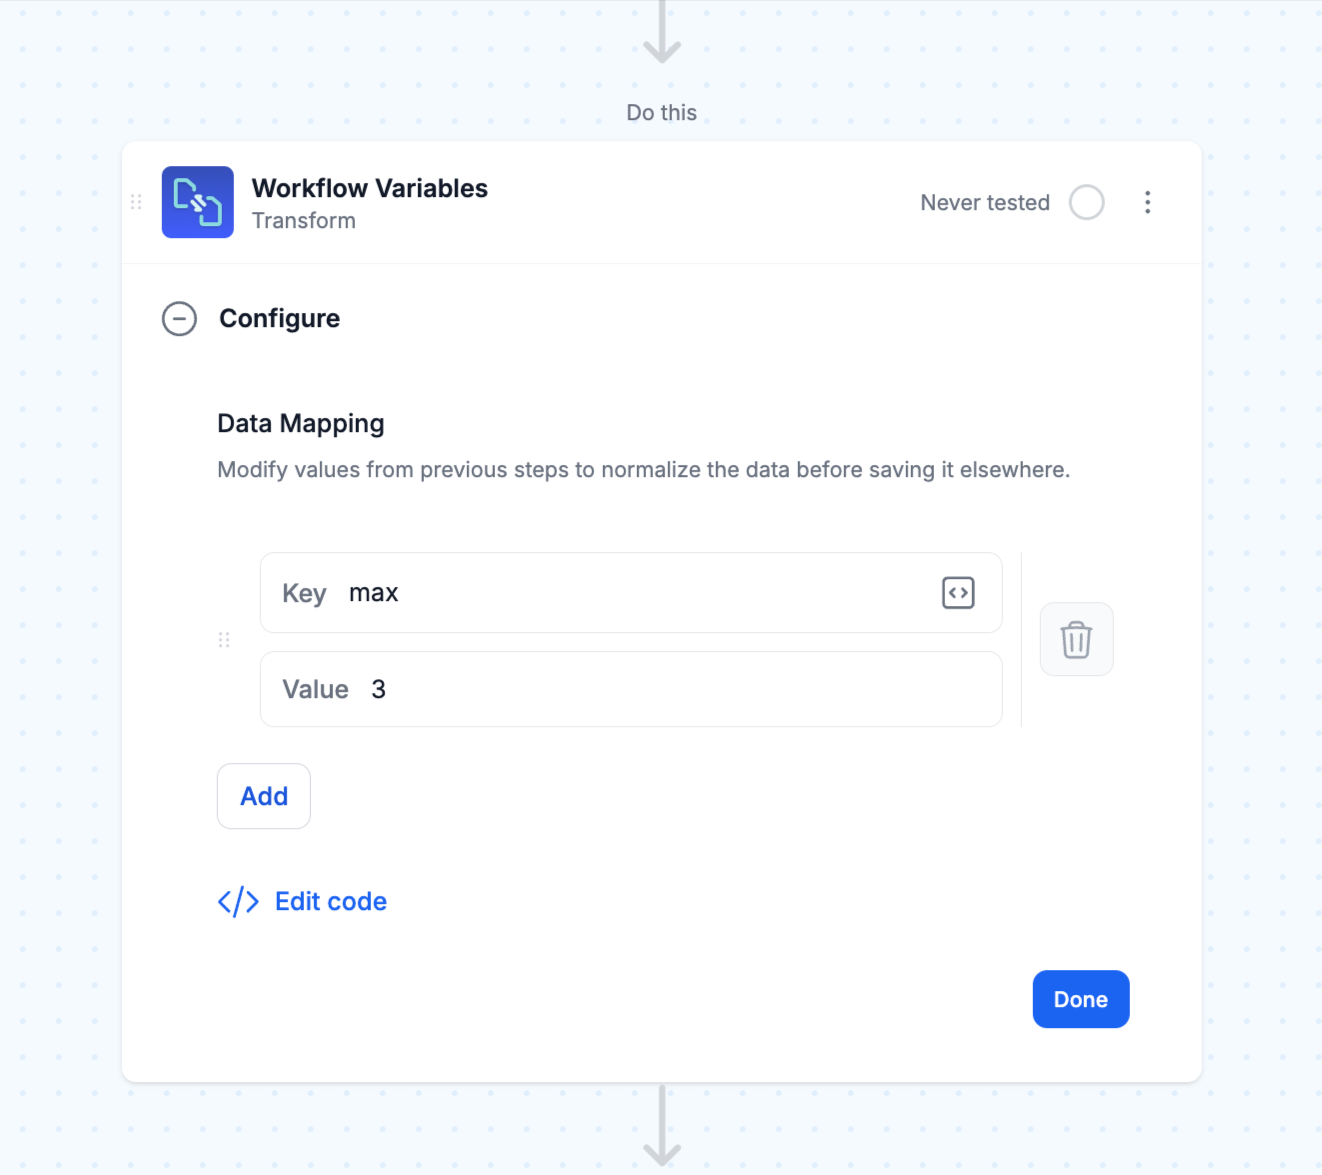
- Use Transform to define workflow variables
This step maps data to workflow variables for easy access in later steps. For example, it sets a maximum value from an input of 3 that will be used to control pagination limits within the workflow. You could set this to whatever you think is right for your workload.
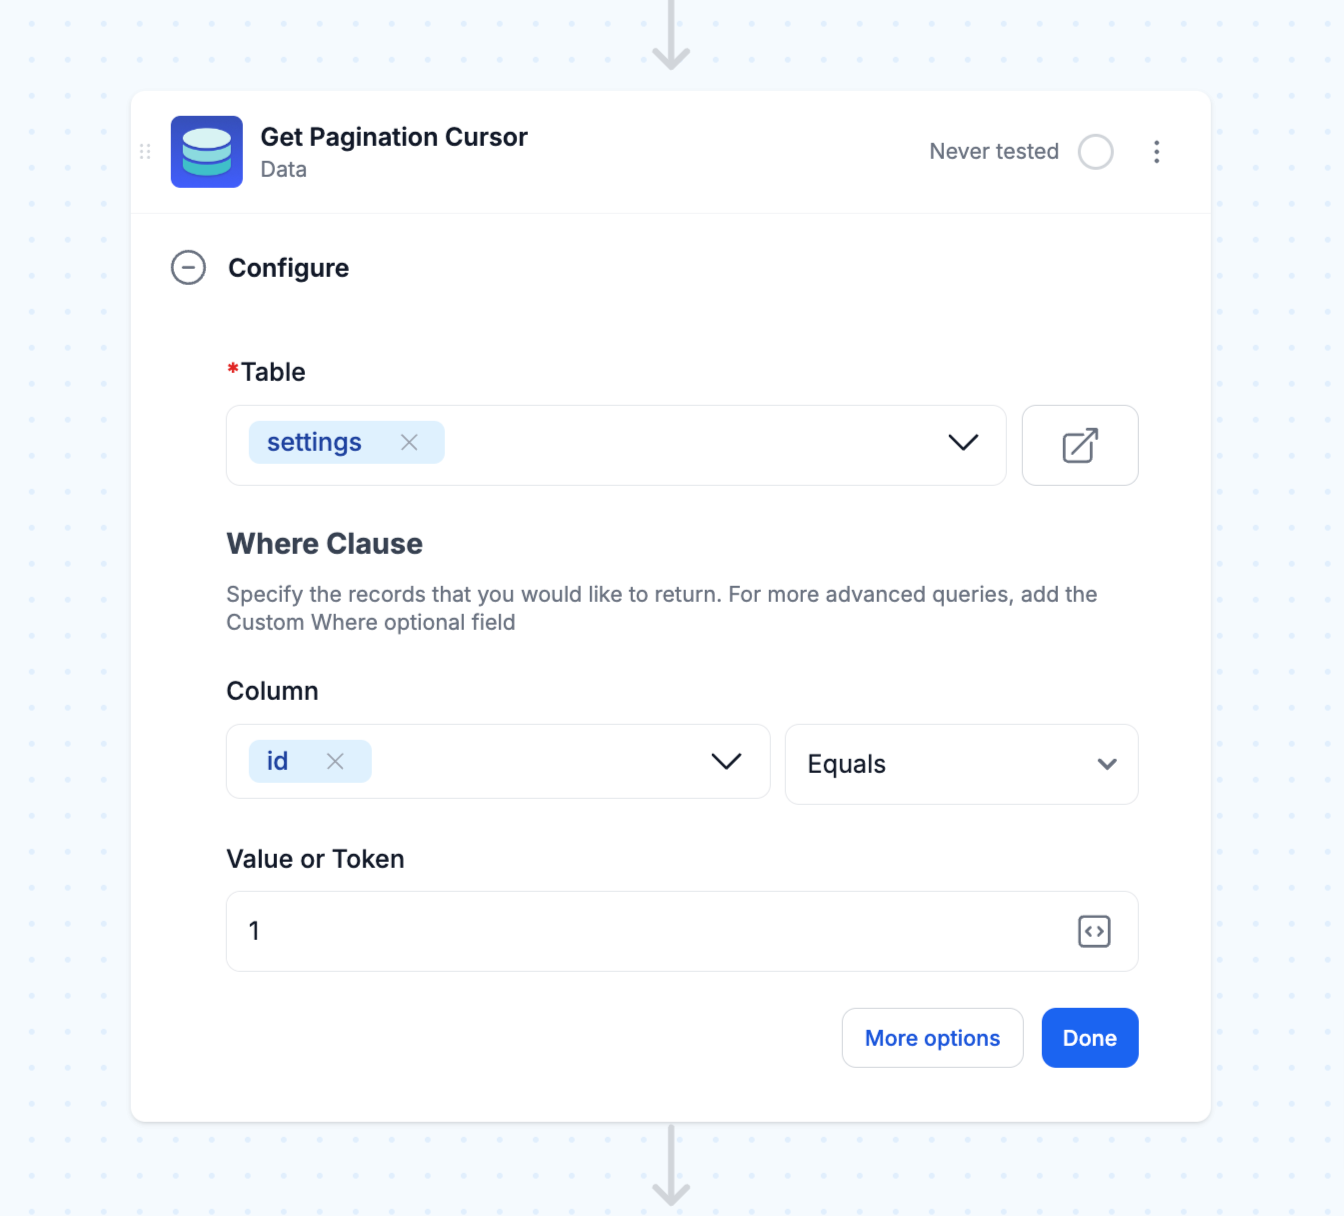
- Get the pagination cursor from Database
Queries the database to retrieve the last saved pagination cursor from the “settings” table. This cursor marks the last processed file and helps in resuming pagination from where it left off.
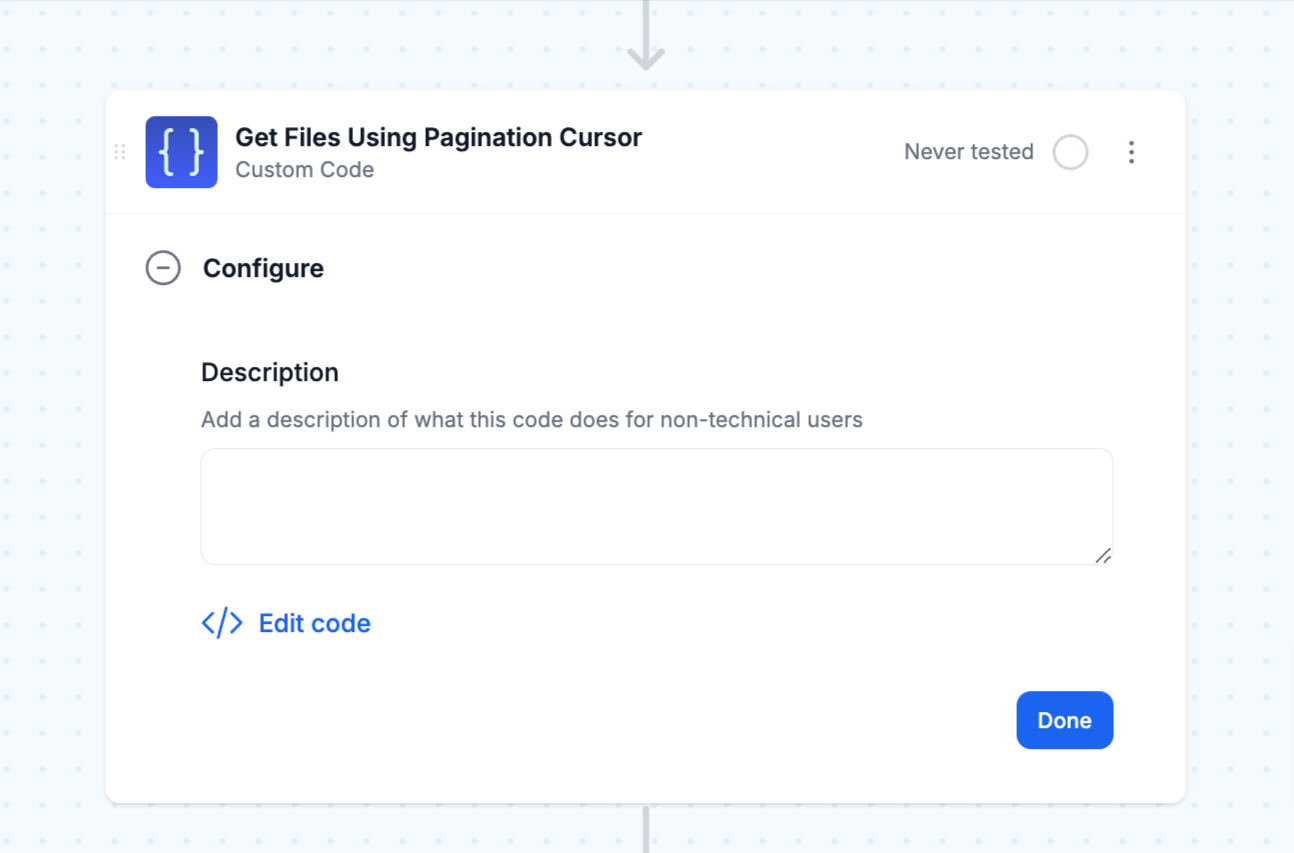
- Fetch files using pagination cursor
Using the retrieved pagination cursor, this step fetches the next set of files. It uses a custom script to query files, leveraging the cursor to navigate through file pages on the source server. Click Edit code to pase the code snippet:
const Mesa = require('vendor/Mesa.js');
const ShopifyGraphql = require('vendor/ShopifyGraphql.js');
const Shopify = require('vendor/Shopify.js');

module.exports = new class {
  script = (payload, context) => {
    let vars = context.steps;

    let cursor = null;
    if (vars.webhook.endCursor) {
      cursor = vars.webhook.endCursor;
    } else if (vars.data_1 && vars.data_1.length) {
      cursor = vars.data_1[0].files_cursor;
    }

    Mesa.trigger.setTaskExternalData({
      "label": "Webhook: " + vars.webhook.endCursor + ", Cursor: " + cursor,
    });

    let query = `query getFiles($max: Int!, $after: String) {
        files(
            first: $max
            query: "media_type:image"
            after: $after
            sortKey: UPDATED_AT
        ) {
            nodes {
            id
            alt
            ... on MediaImage {
                image {
                url
                }
            }
            }
            pageInfo {
            endCursor
            hasNextPage
            }
        }
        }
    `;

    const r = ShopifyGraphql.send(query, {
      "max": parseInt(vars.transform_1.max),
      "after": cursor,
    });

    let nextPayload = {
      "files": r.data.files.nodes,
      "pageInfo": r.data.files.pageInfo,
    };

    Mesa.output.next(nextPayload);
  }
}
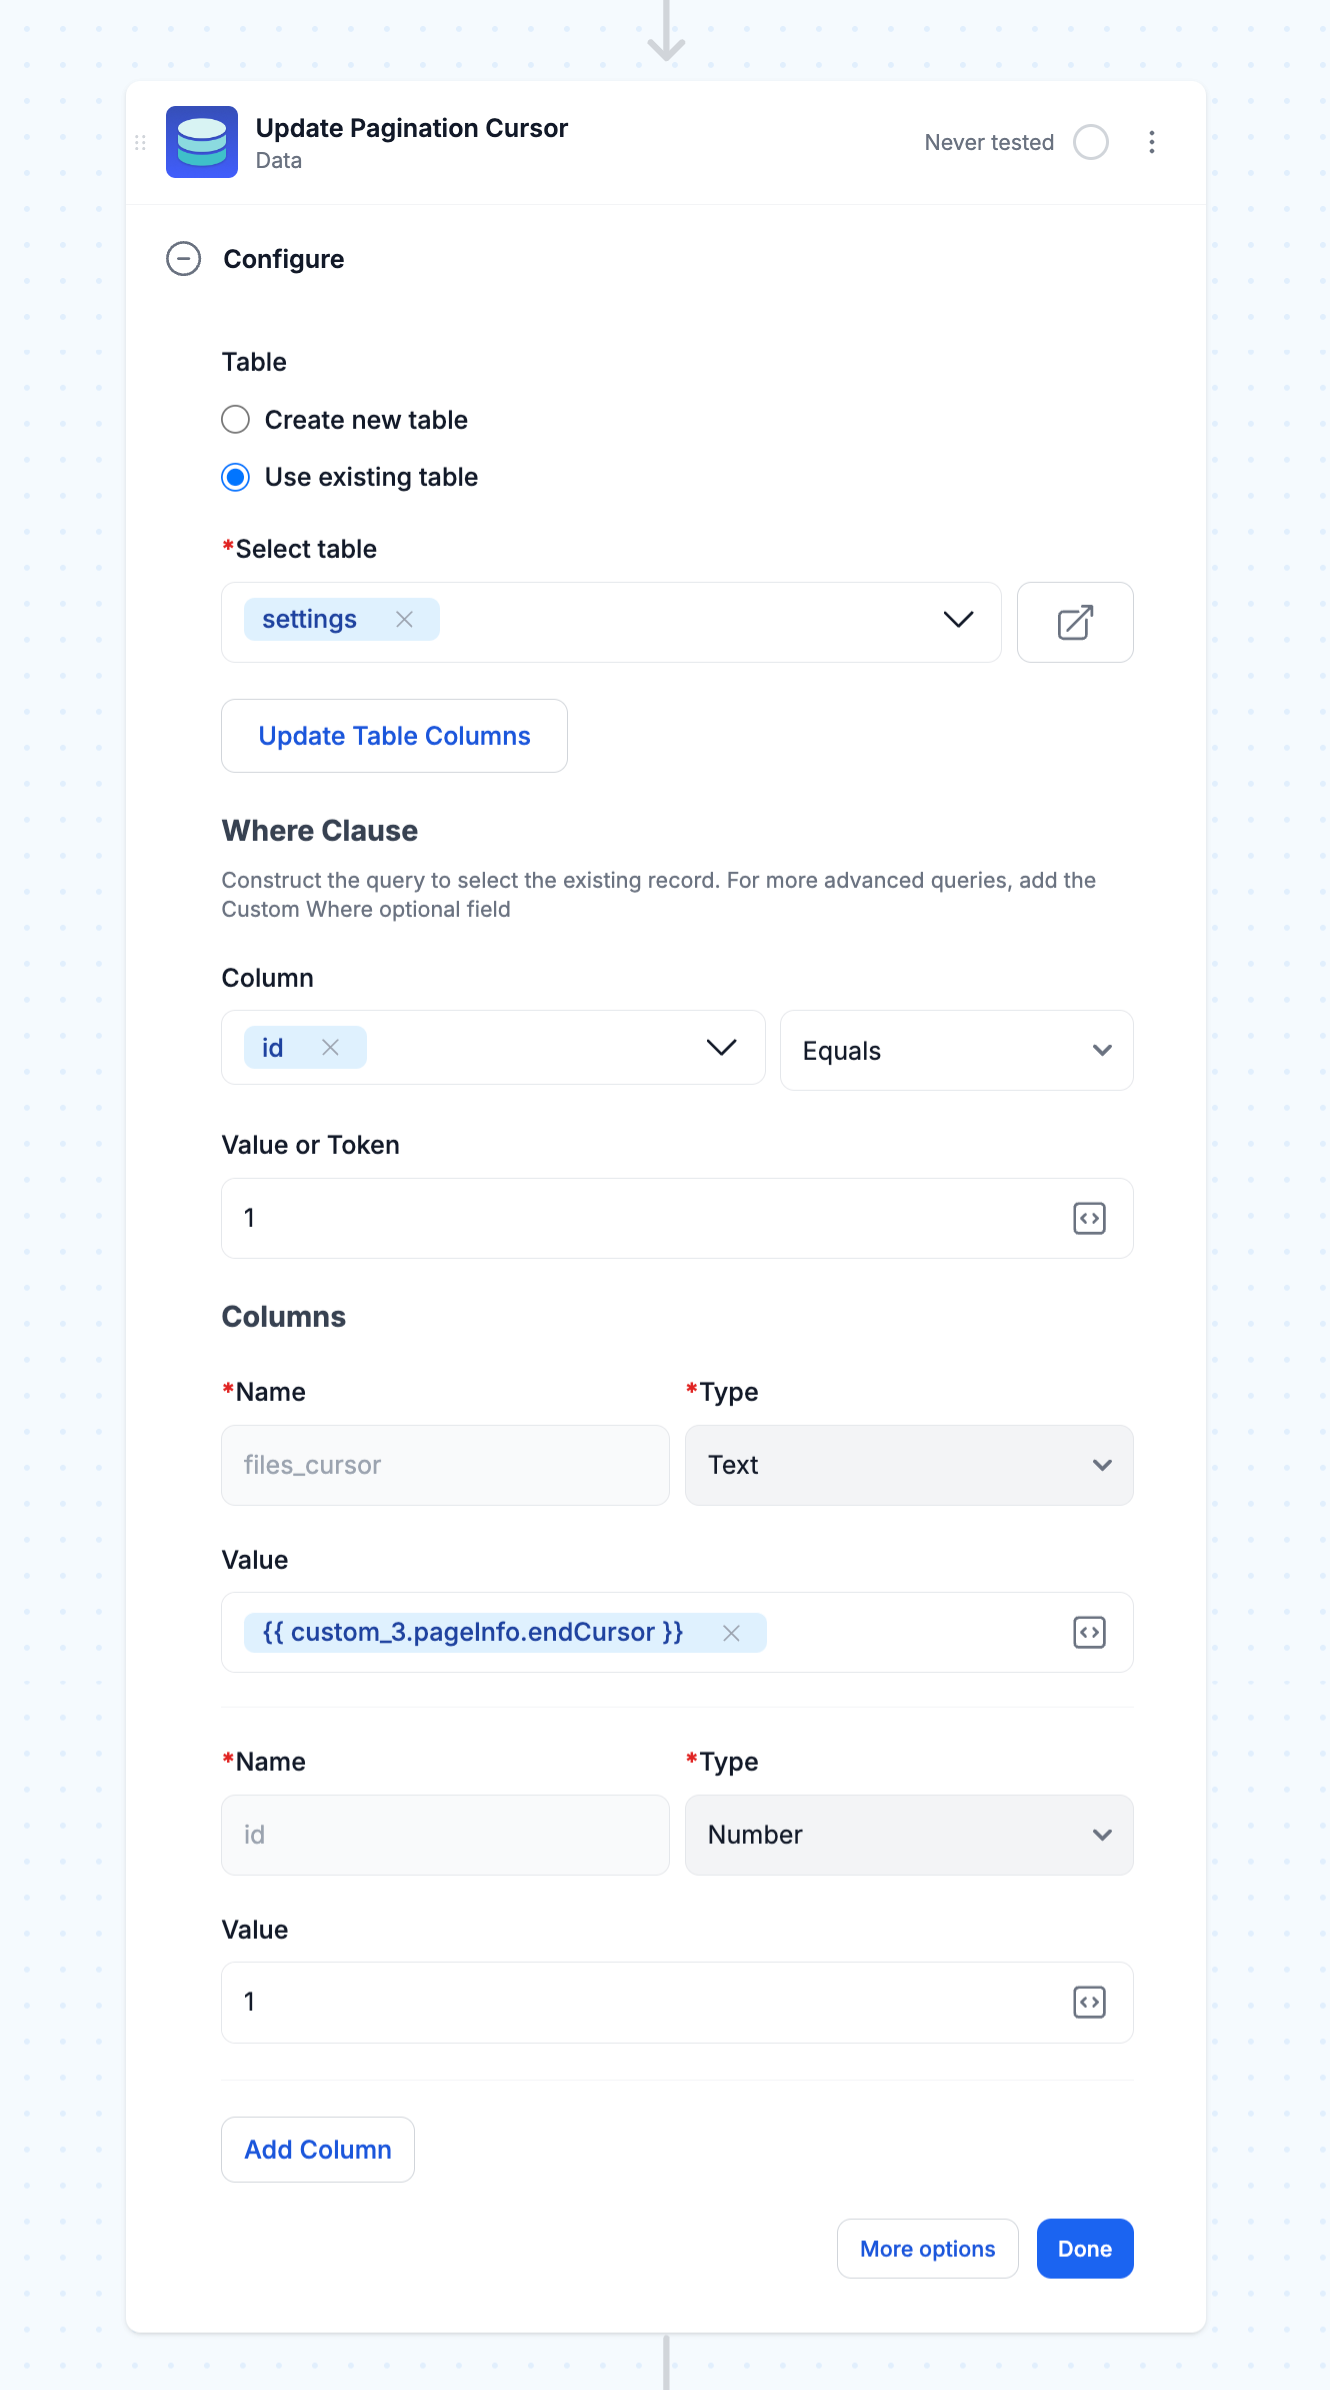
- Update the pagination cursor in Database
After fetching the current set of files, this step updates the pagination cursor in the database with the latest endCursor value. This ensures that the workflow will start from the correct place on the next run.
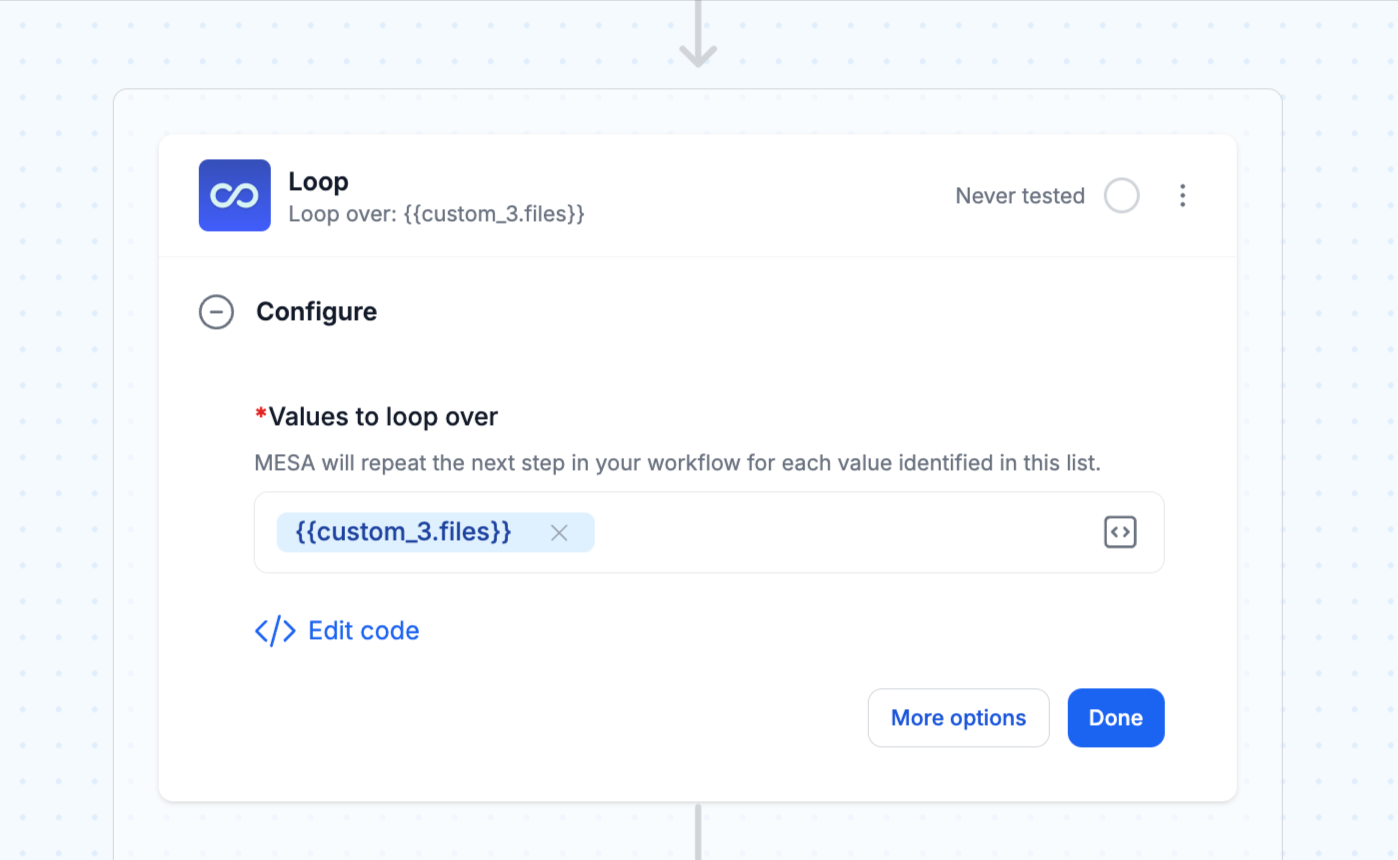
- Loop through each file
Initiates a loop to process each file individually. It iterates through files, applying subsequent steps to each one, allowing the workflow to handle each new file retrieved from the source server.
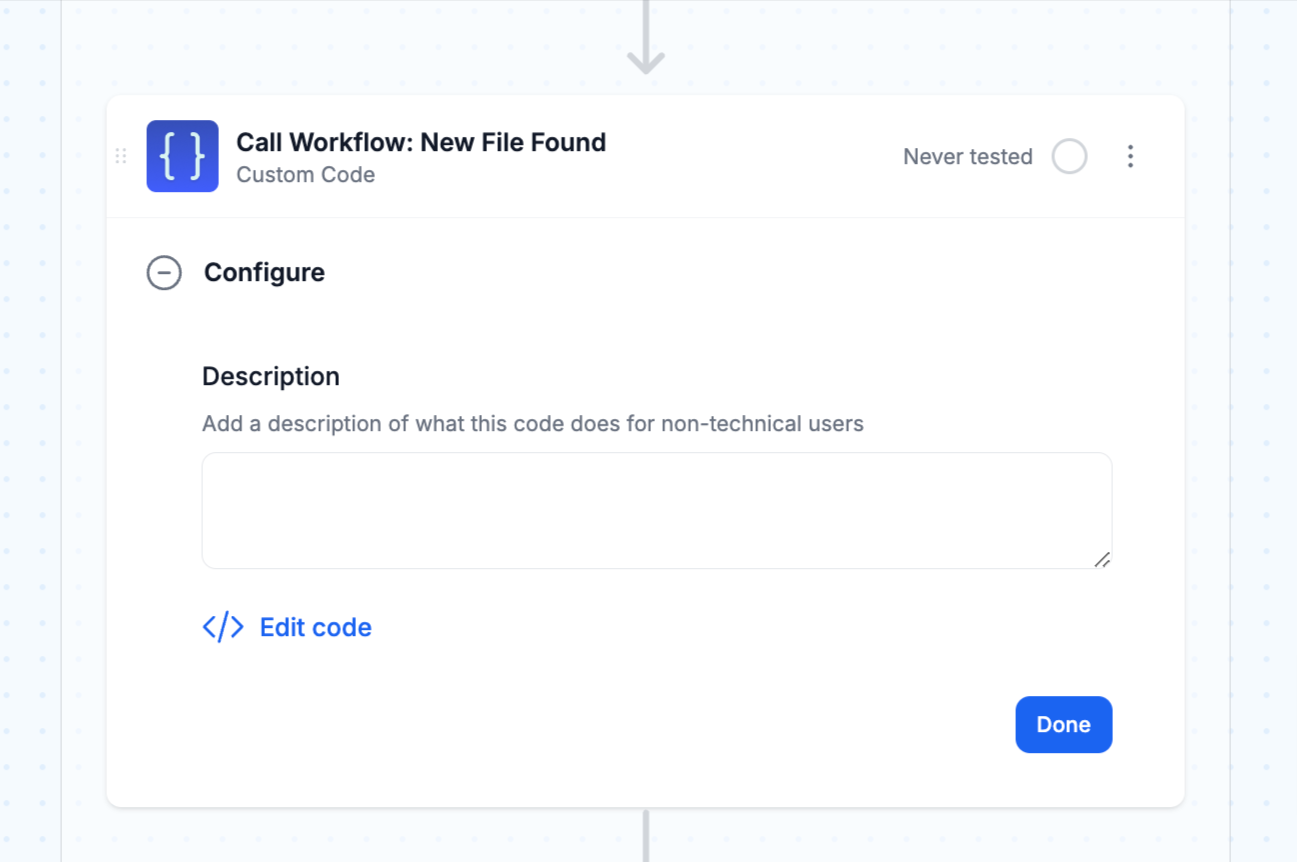
- Call the next workflow for each new file found
For each file in the loop, this step calls another workflow or script designed to process a newly found file. This allows individual handling or analysis of each file as it’s processed. Here’s the code snippet to paste into this Code step:
const Mesa = require('vendor/Mesa.js');

module.exports = new class {

  script = (payload, context) => {
    const vars = context.steps;

    Mesa.automation.send('ai_alt_text_process_new_image_file', vars.loop);

    Mesa.output.next(payload);
  }
}
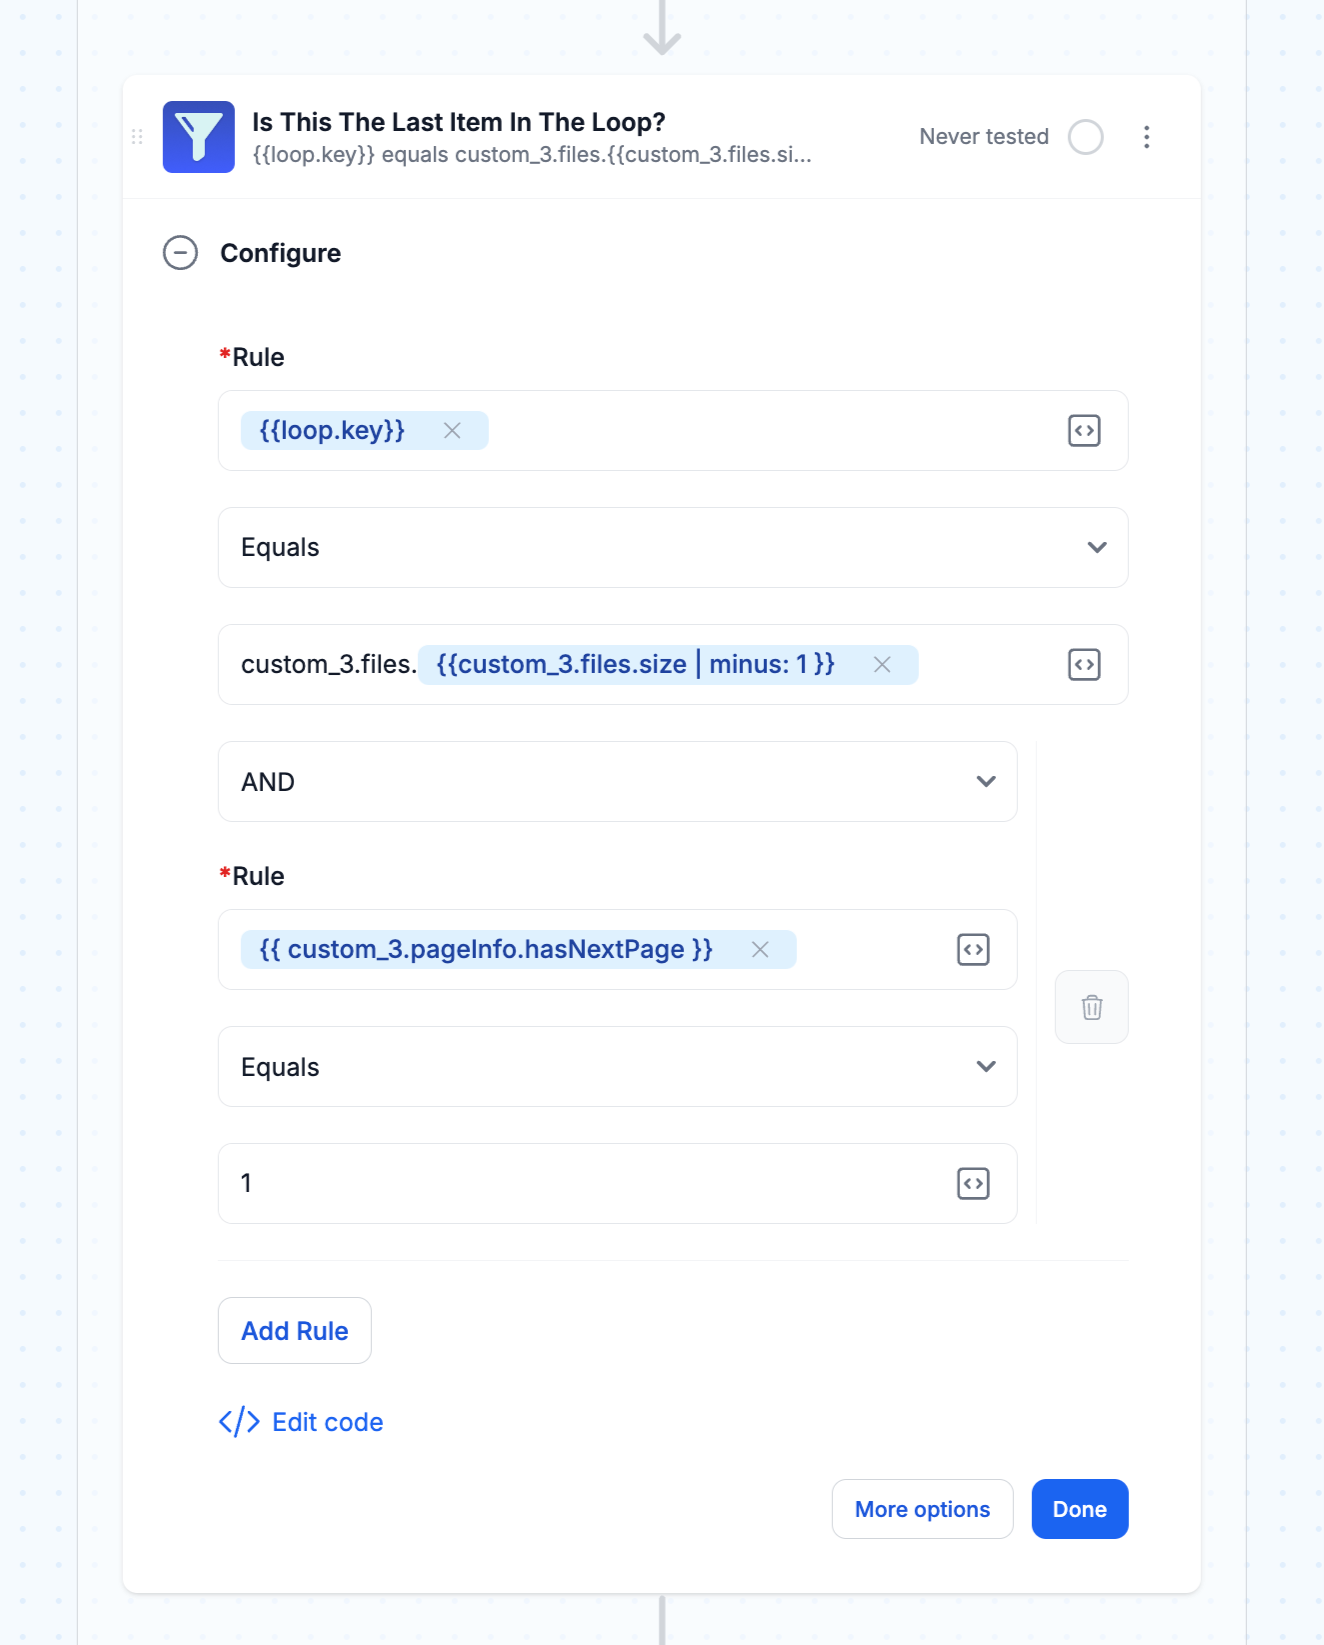
- Check if this is the last item in Loop and if more pages exist
This step checks if the current file is the last one in the loop and verifies if there are additional pages to process. It uses conditional logic to determine whether to continue to the next page of files.
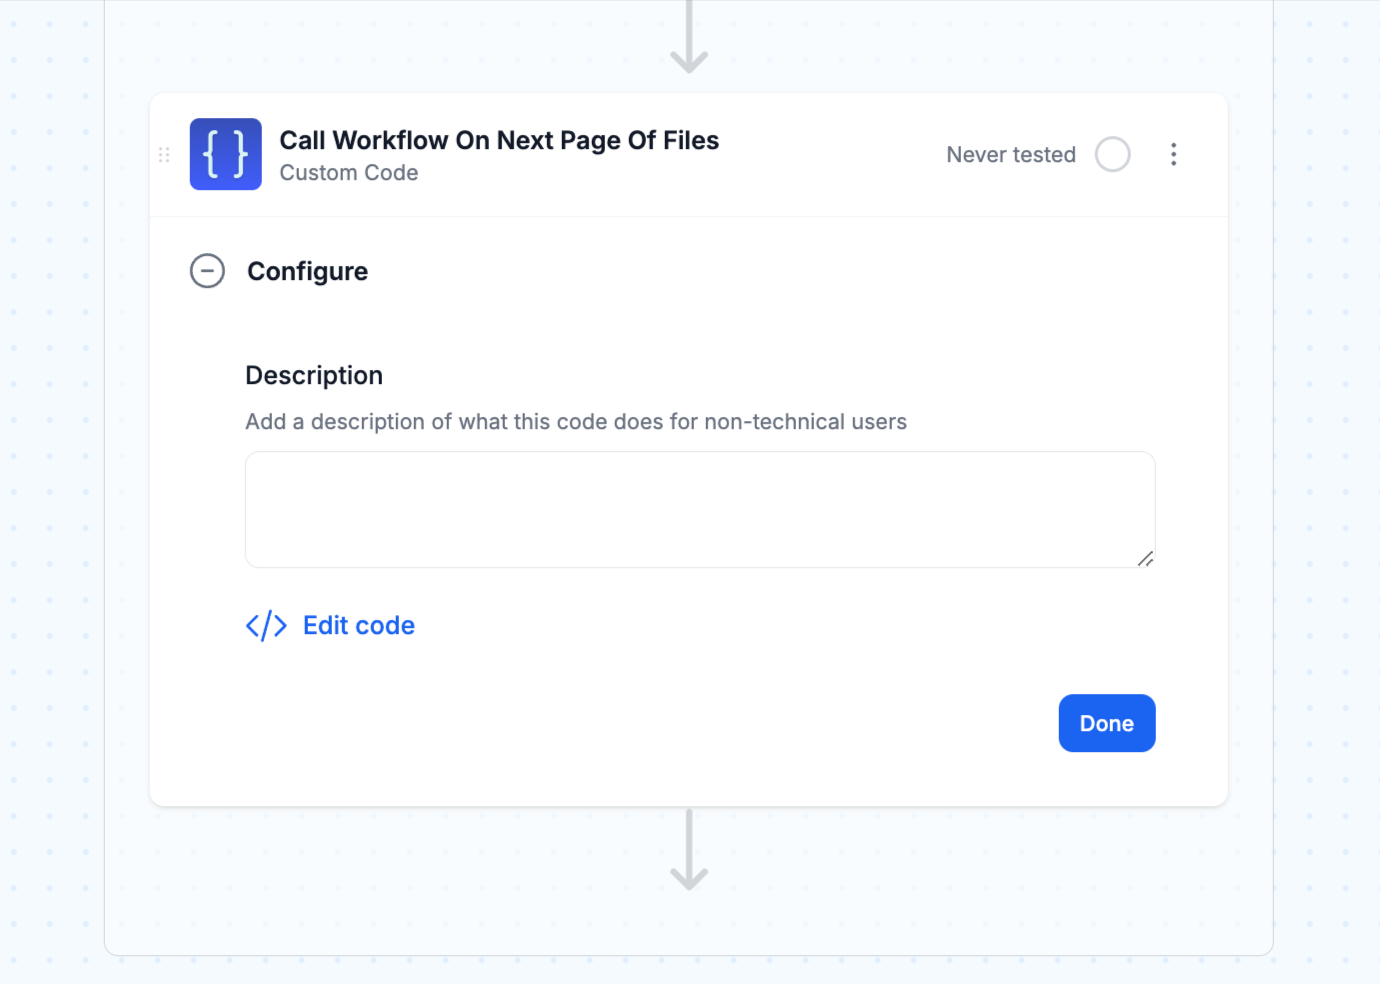
- Call this workflow for the next page of files if needed
If there are more pages to process, this step triggers the workflow recursively to fetch and process the next page of files. This ensures that all files across multiple pages are retrieved and handled systematically.
const Mesa = require('vendor/Mesa.js');

module.exports = new class {

  script = (payload, context) => {
    const vars = context.steps;

    Mesa.automation.send('AI Alt Text: Paginate Through New Files', vars.custom_3.pageInfo);

    Mesa.output.next(payload);
  }
}
- Next, create the third workflow using the Webhook Received trigger
This step starts the last workflow needed when a webhook is received from the second workflow in this series. This workflow is design to call ChatGPT to “look” at the images to suggest a description for use alt text.

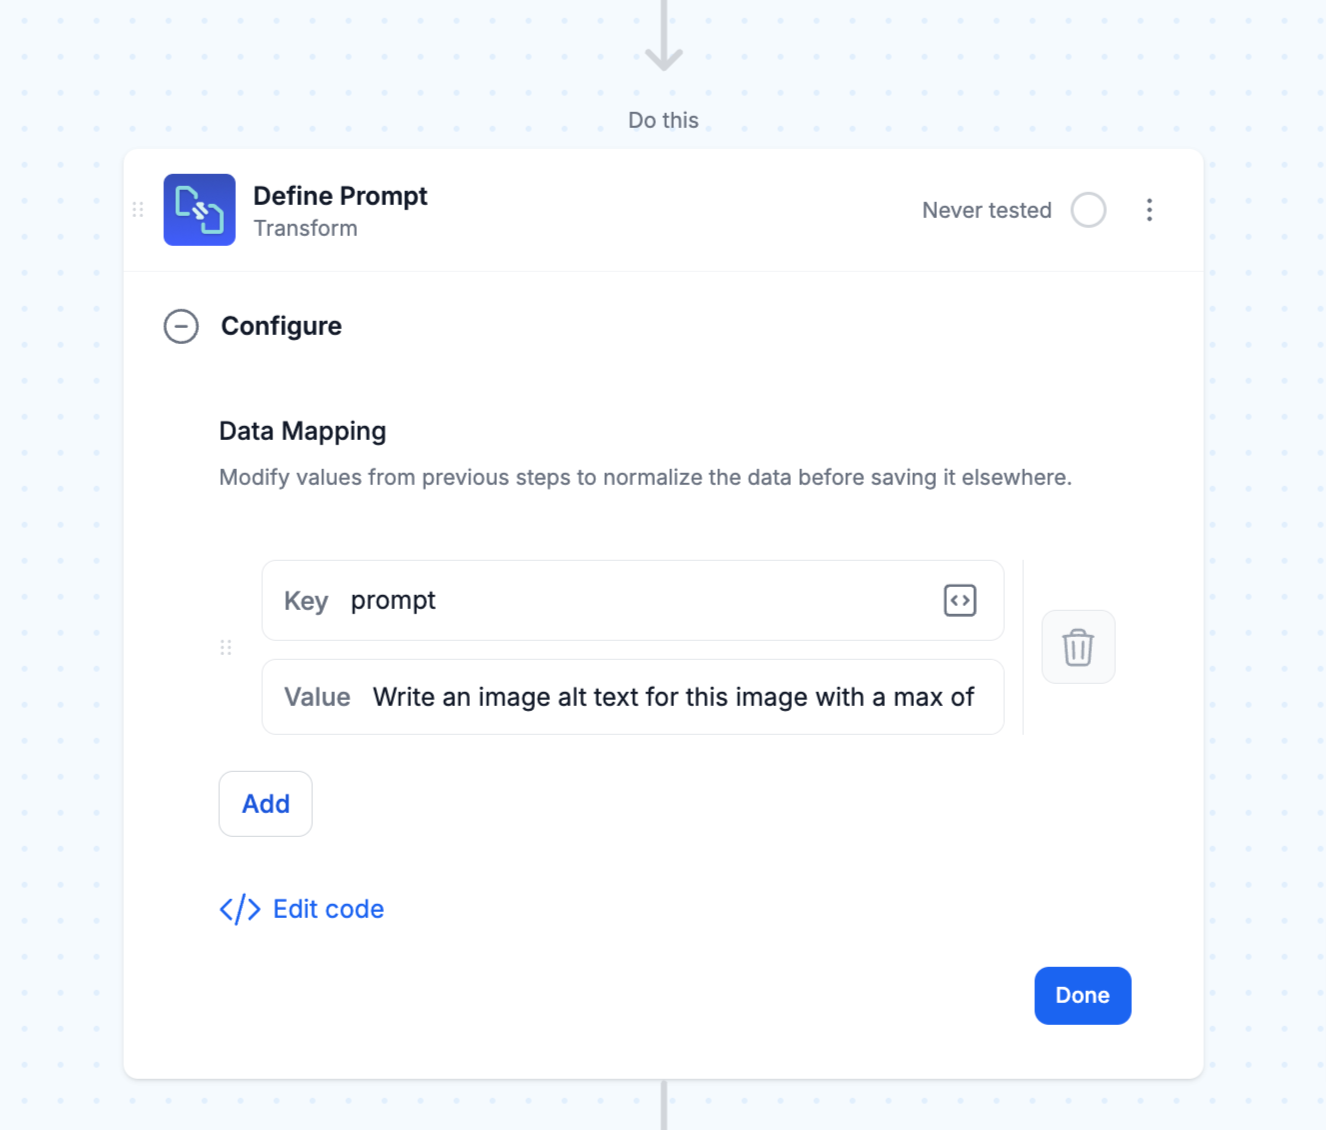
- Define prompt for AI alt text generation
This step creates a prompt that will be sent to ChatGPT. The prompt instructs the AI model to generate an alt text for the image, limiting it to a maximum of 140 characters for brevity and clarity.
- Call ChatGPT Vision API to generate alt text
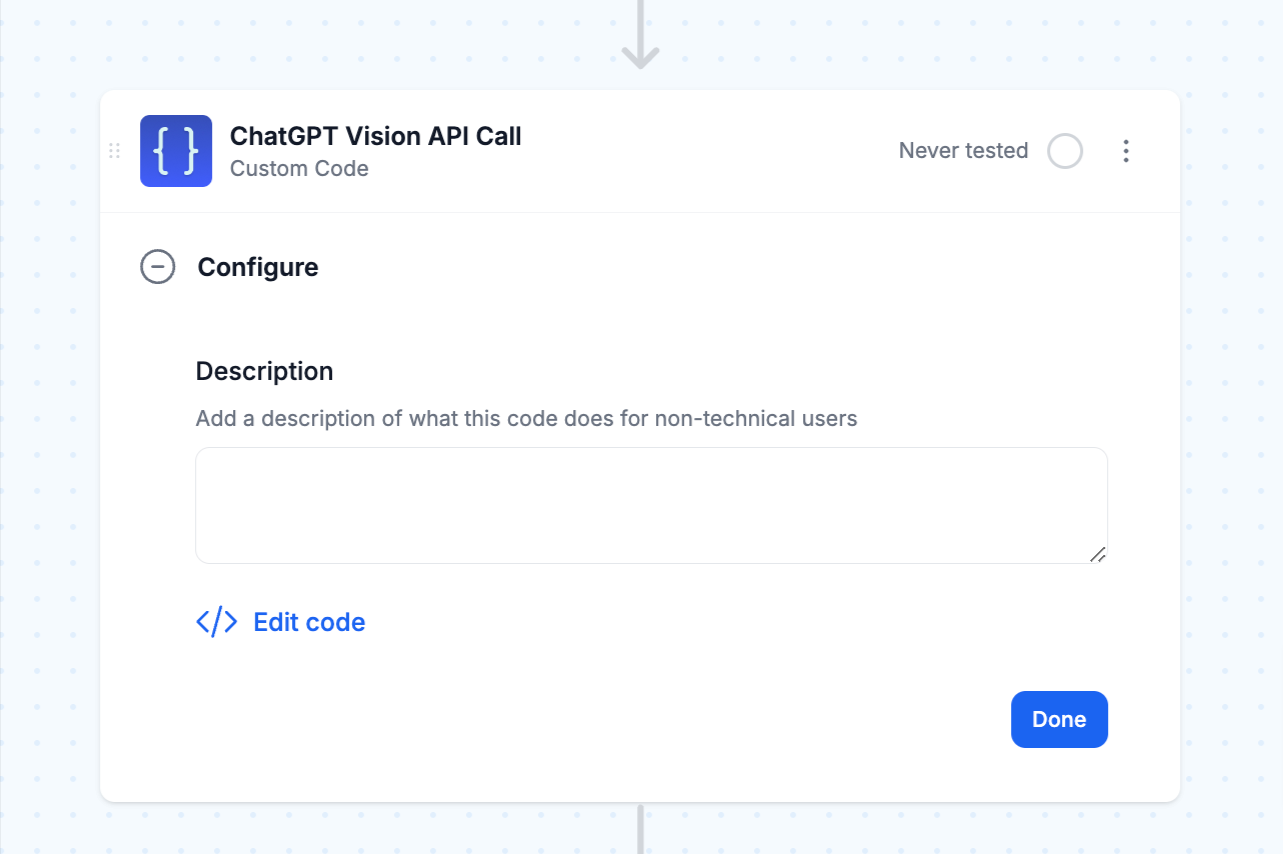
Uses the ChatGPT Vision API to analyze the image and generate descriptive alt text based on the defined prompt. This step processes the image and returns suggested alt text, leveraging AI to improve accessibility. Paste this code snippet into this Code step:
const Mesa = require('vendor/Mesa.js');

module.exports = new class {

  script = async (payload, context) => {
    const vars = context.steps;

    // Retrieve API key from Mesa credentials
    let credential = JSON.parse(Mesa.credential.get('chatgpt'));
    Mesa.log.info("credential: ", credential);

    // Headers for the request
    let options = {
      "headers": {
        "Content-Type": "application/json",
        "Authorization": "Bearer " + credential.apikey,
      }
    };

    // Define the API endpoint
    let url = 'https://api.openai.com/v1/chat/completions';

    // Prepare the content array (text + image URLs)
    let content = [
      // Add the text prompt as the first part
      {
        "type": "text",
        "text": vars.transform.prompt,
      },
      {
        "type": "image_url",
        "image_url": {
          "url": vars.webhook.image.url,
        },
      },
    ];

    // Define the payload for the request
    let data = {
      "model": "gpt-4-turbo", // Adjust model as needed, e.g., "gpt-4o-mini" if that's available for images
      "messages": [
        {
          "role": "user",
          "content": content
        }
      ],
      "max_tokens": 100,
    };

    // Make the POST request using Mesa.request.post
    let result = await Mesa.request.post(url, JSON.stringify(data), options);
    Mesa.log.info('result', result);

    // Handle the result from the OpenAI API
    if (result.error) {
      throw new Error(result.error.message);
    }

    // Set the task's external data with the response from OpenAI
    Mesa.trigger.setTaskExternalData({
      "label": result.choices[0].message.content,
    });

    // Pass the response to the next workflow step
    Mesa.output.next({"alt_text": result.choices[0].message.content});
  }
}
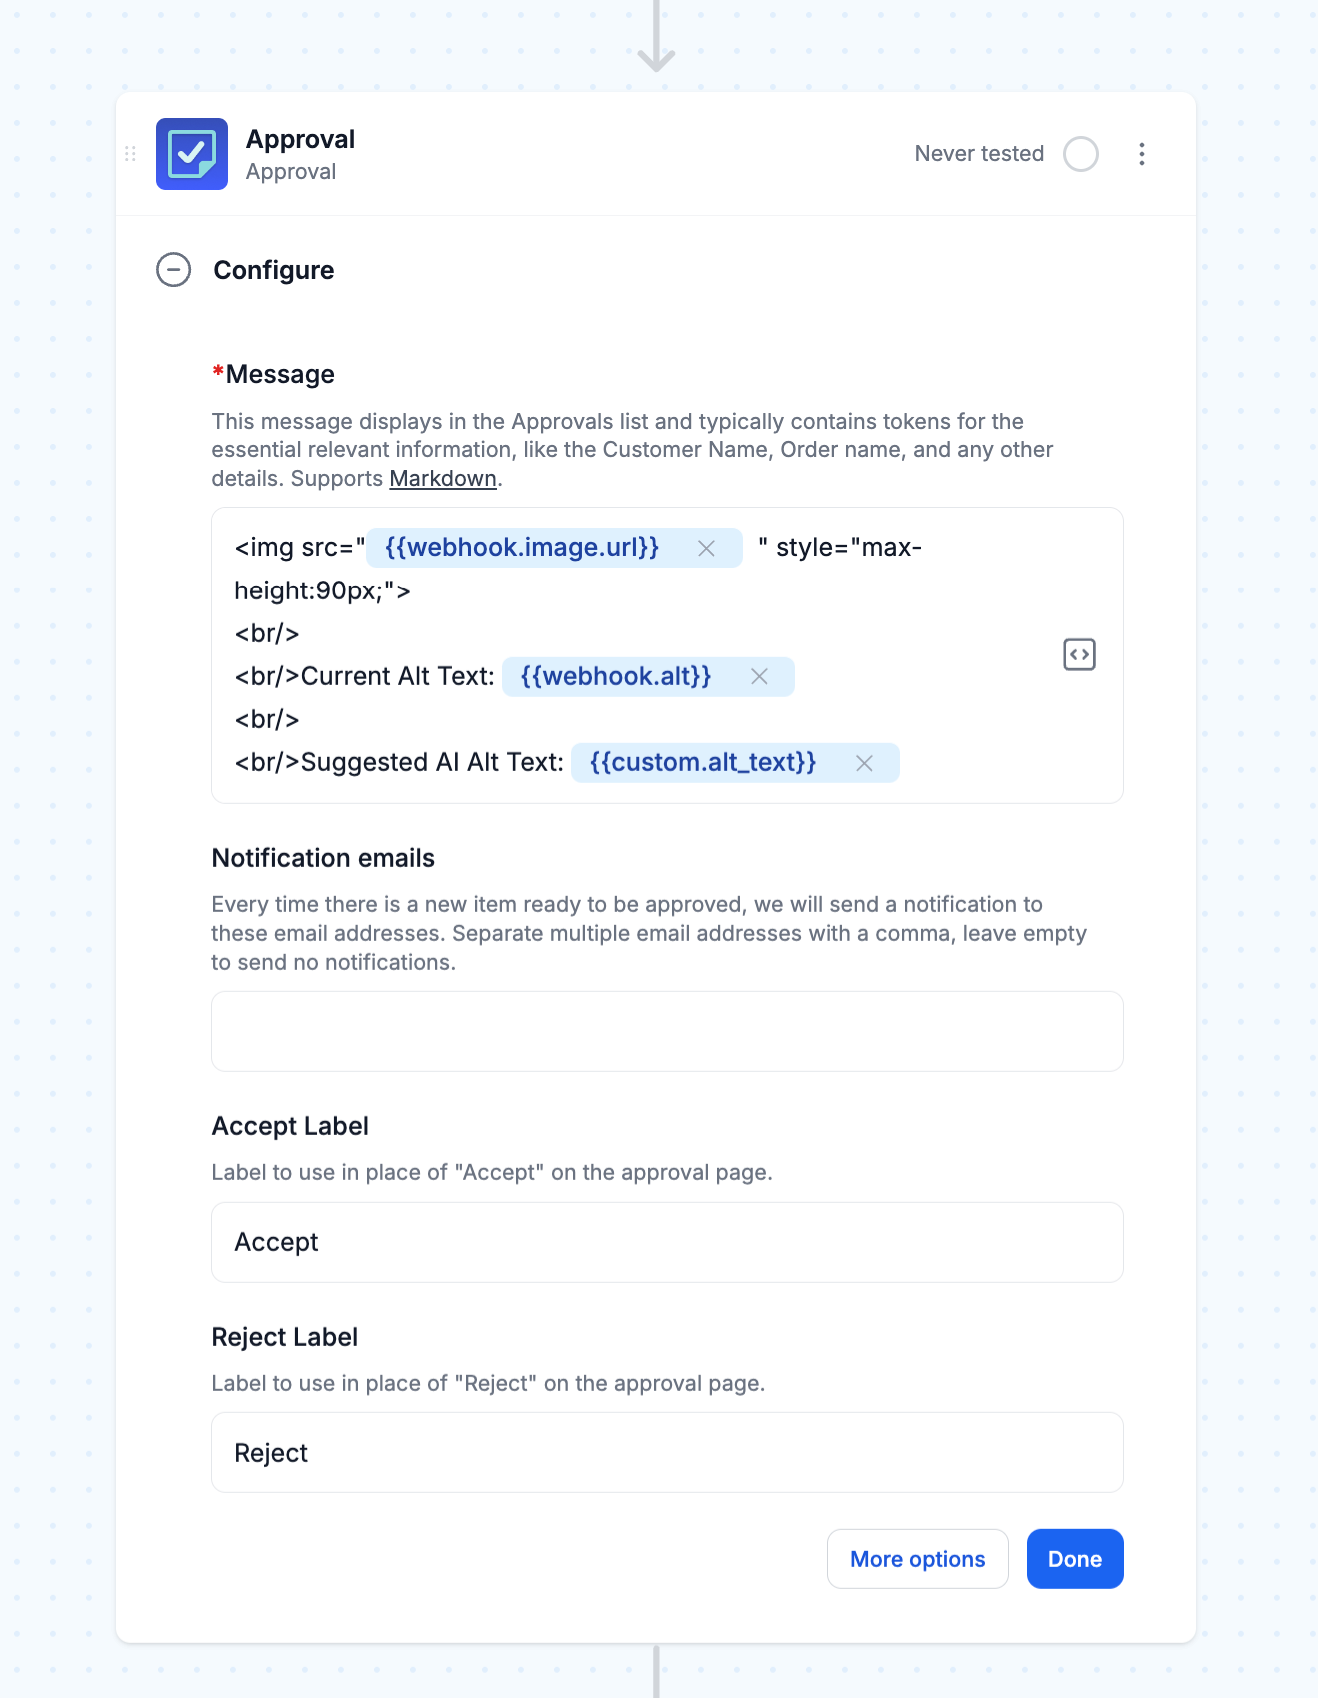
- Use Approval tool to suggest alt text for review
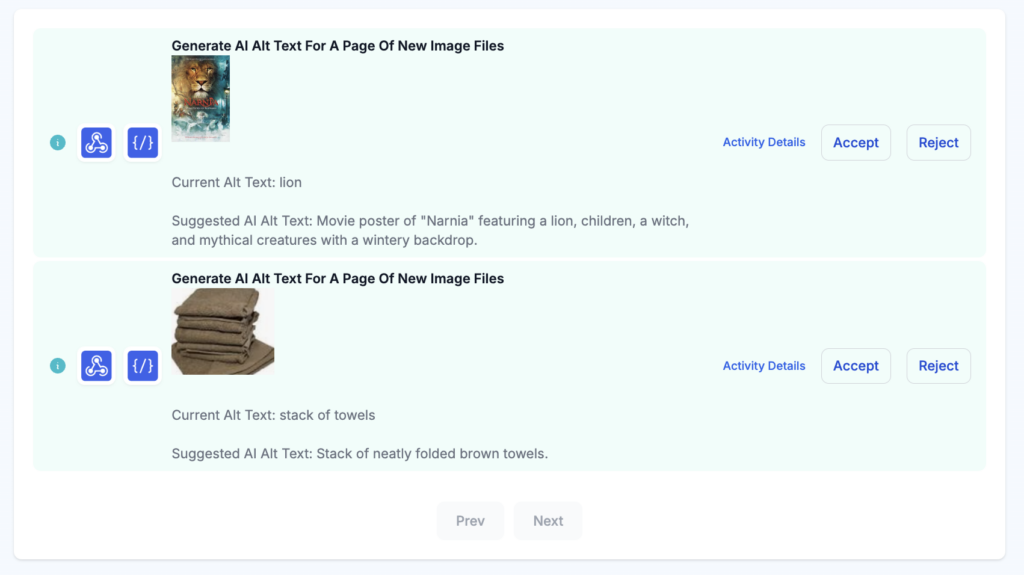
Displays the image, current alt text, and the AI-generated alt text for human review. Users can choose to “Accept” the suggested text if it’s suitable or “Reject” it if it needs adjustments.
- Update image with approved alt text
If the suggested alt text is approved, this step automatically updates the image file with the new alt text. This ensures that the image has descriptive and accessible alt text in the system, improving accessibility and SEO. Paste this code snippet into the Code step:
const Mesa = require('vendor/Mesa.js');
const ShopifyGraphql = require('vendor/ShopifyGraphql.js');
const Shopify= require('vendor/Shopify.js');

module.exports = new class {
  script = (payload, context) => {
    let vars = context.steps;

    let query = `
      mutation updateFile($id: ID!, $alt: String!) {
        fileUpdate(files: {id: $id, alt: $alt}) {
          files {
            alt
            id
            ... on MediaImage {
              image {
                url
              }
            }
          }
        }
      }
    `;

    const r = ShopifyGraphql.send(query, {
      "id": vars.webhook.id,
      "alt": vars.custom.alt_text,
    }, {}, 'admin/api/2023-10/graphql.json');

    Mesa.output.next({"response": r.data});
  }
}